Resurrecting Old Macintoshes, Part II
Beyond the original Macintosh computers I have working, I assembled a few alternative Macintoshes using Raspberry Pis to emulate the old hardware.
Mac Mini Pi
I ran across this project for making a super cute mini Mac case for a Raspberry Pi. I found someone to 3D print the case, ordered the magnets the plans were set up to use to adhere the pieces together from eBay (1/4" x 1/16" Neodymium Rare Earth N48 Magnets). The display is a little small, but it will run Mini vMac alright.
I set it up to start Mini vMac upon boot and shut the machine down when it exits so you can hardly tell it’s not a Mac. When you get the drivers for the TFT display, you end up with a framebuffer device (/dev/fb1). I used the raspi-config utility to set up the display resolution, text-based console and to auto-login as the pi user. As the pi user, I added the following to the end of the $HOME/.profile file:
export FRAMEBUFFER=/dev/fb1

if [ -z $SSH_TTY ] && [ "$TERM" = "linux" ]; then
	sudo SDL_VIDEODRIVER=fbcon SDL_FBDEV=/dev/fb1 $HOME/minivmac
	sudo halt -p
fi
The if make sure this only runs on the text-based console (not via ssh), then it runs minivmac as root (to access the framebuffer device) with the environment variables specified to tell it to use the framebuffer. Lastly, when minivmac exits, run halt -p (shut down and power off the machine).
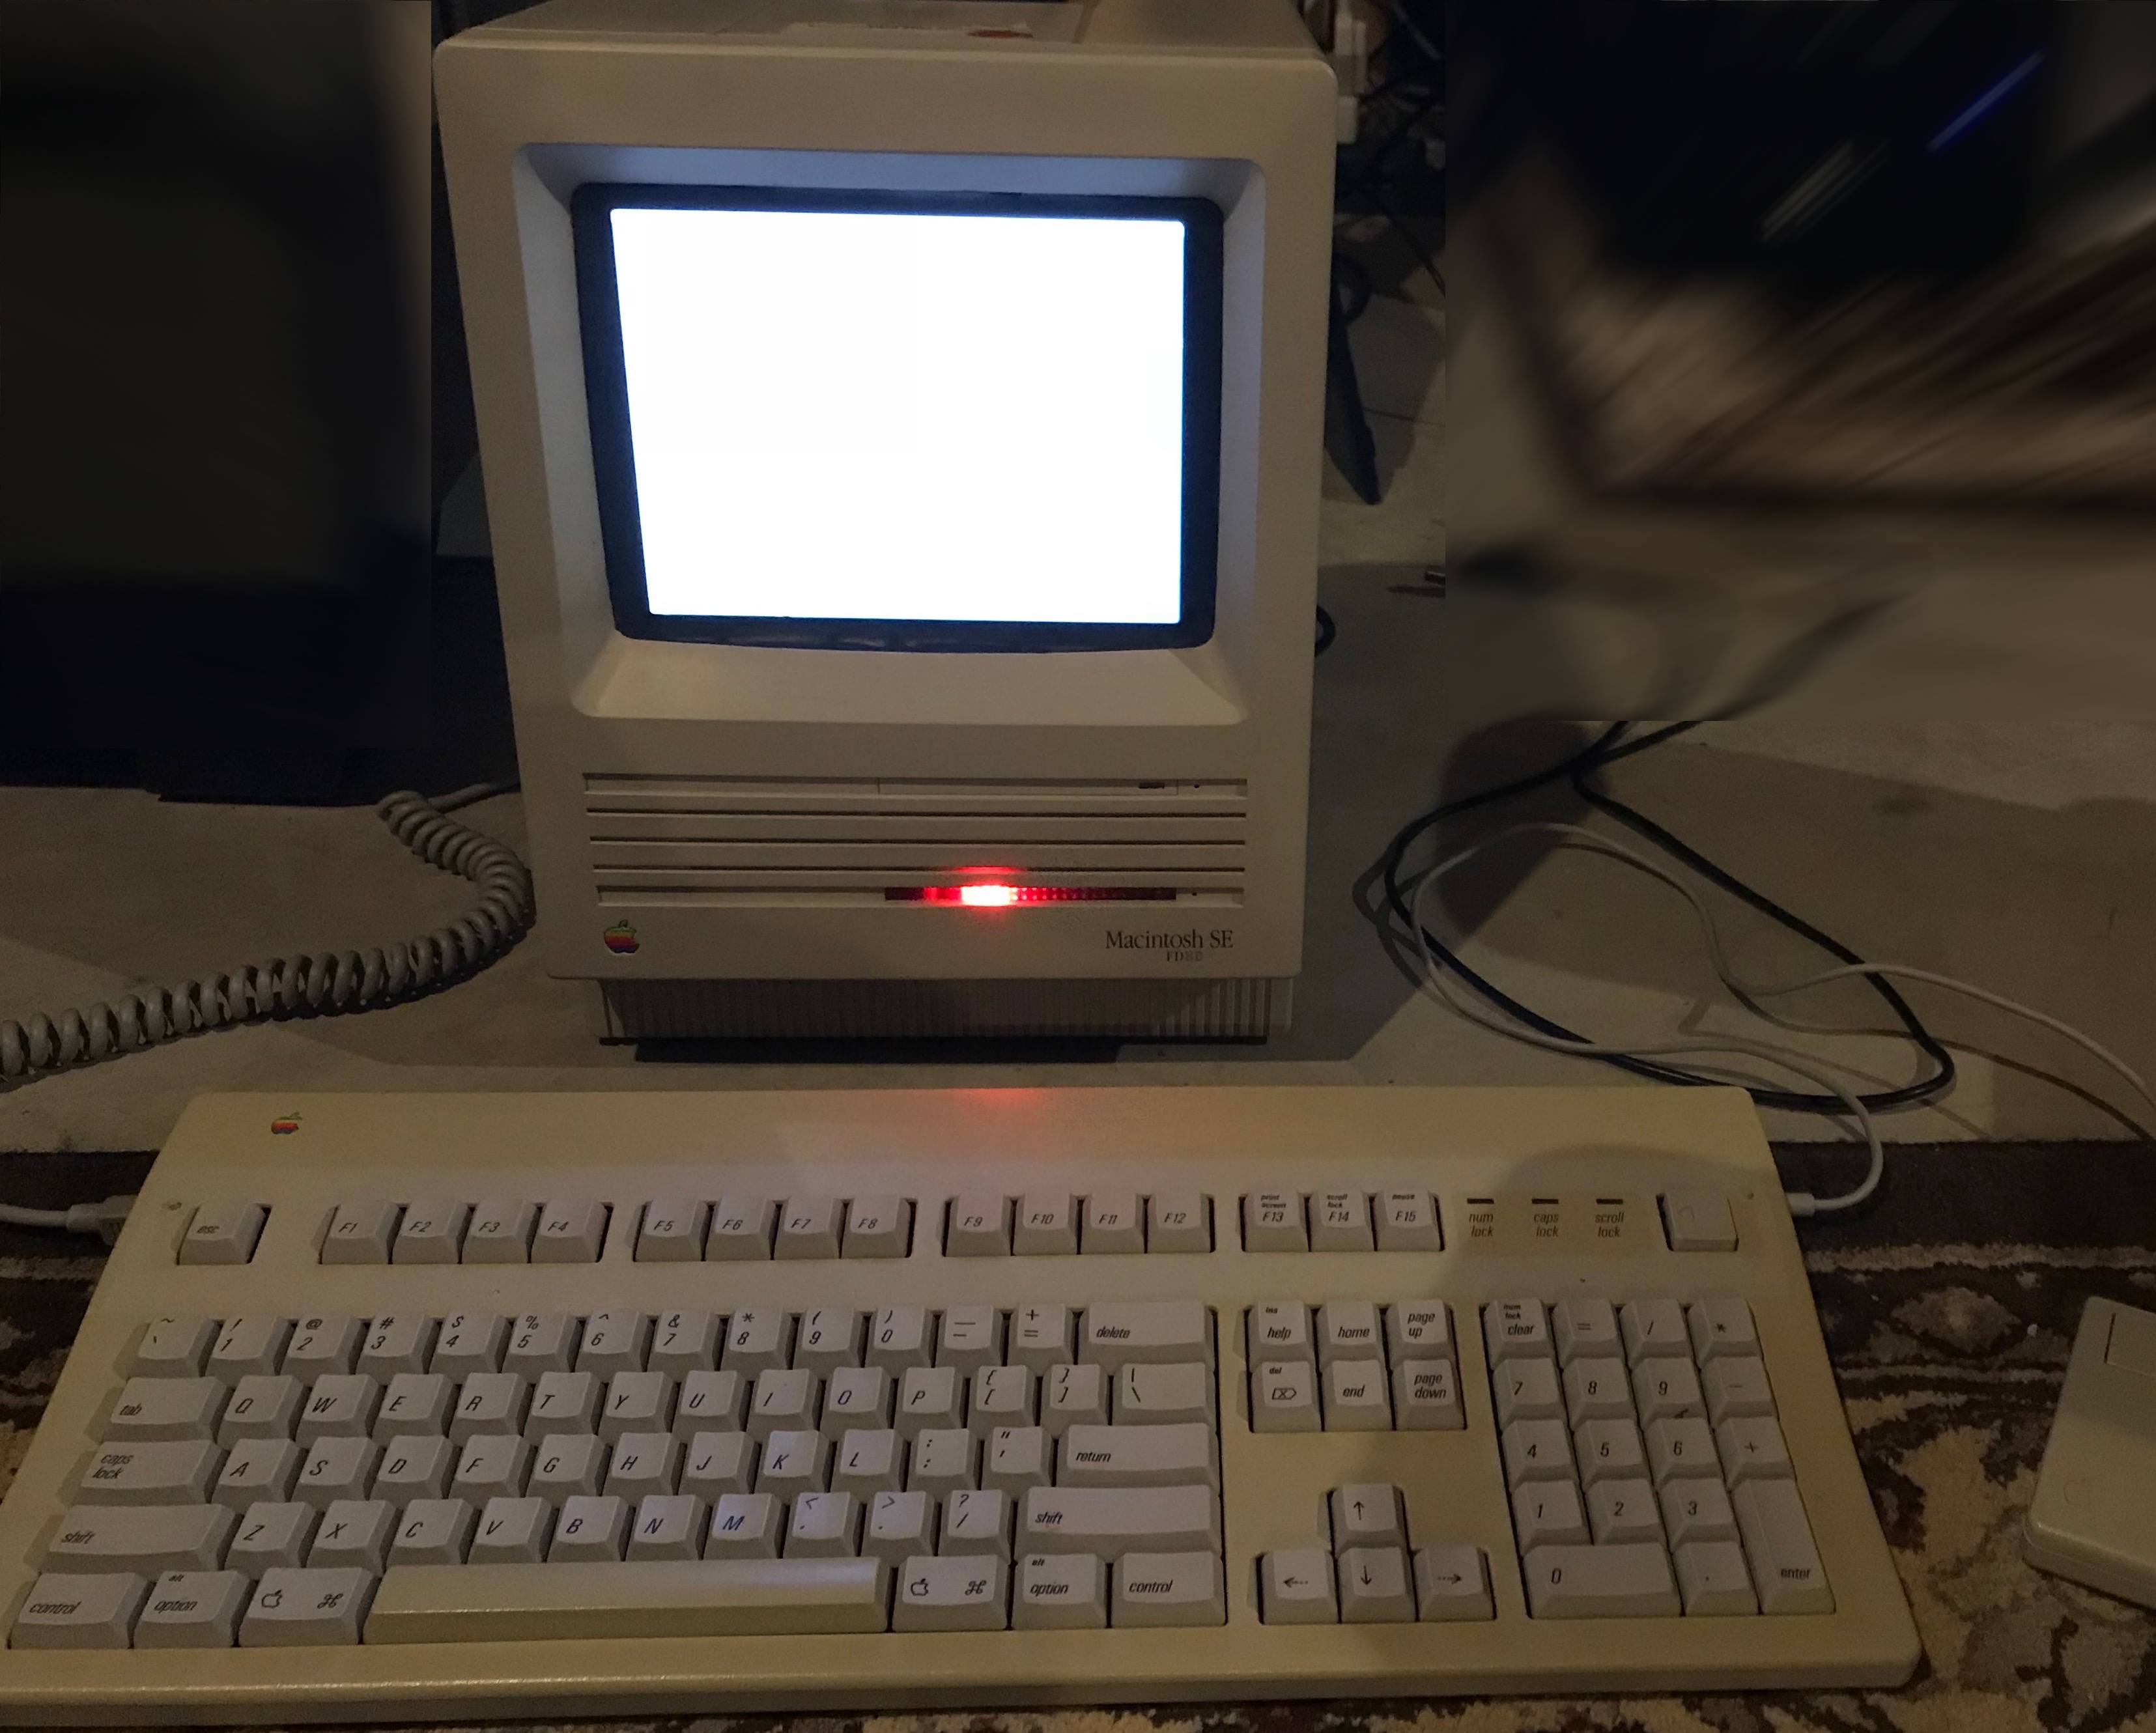
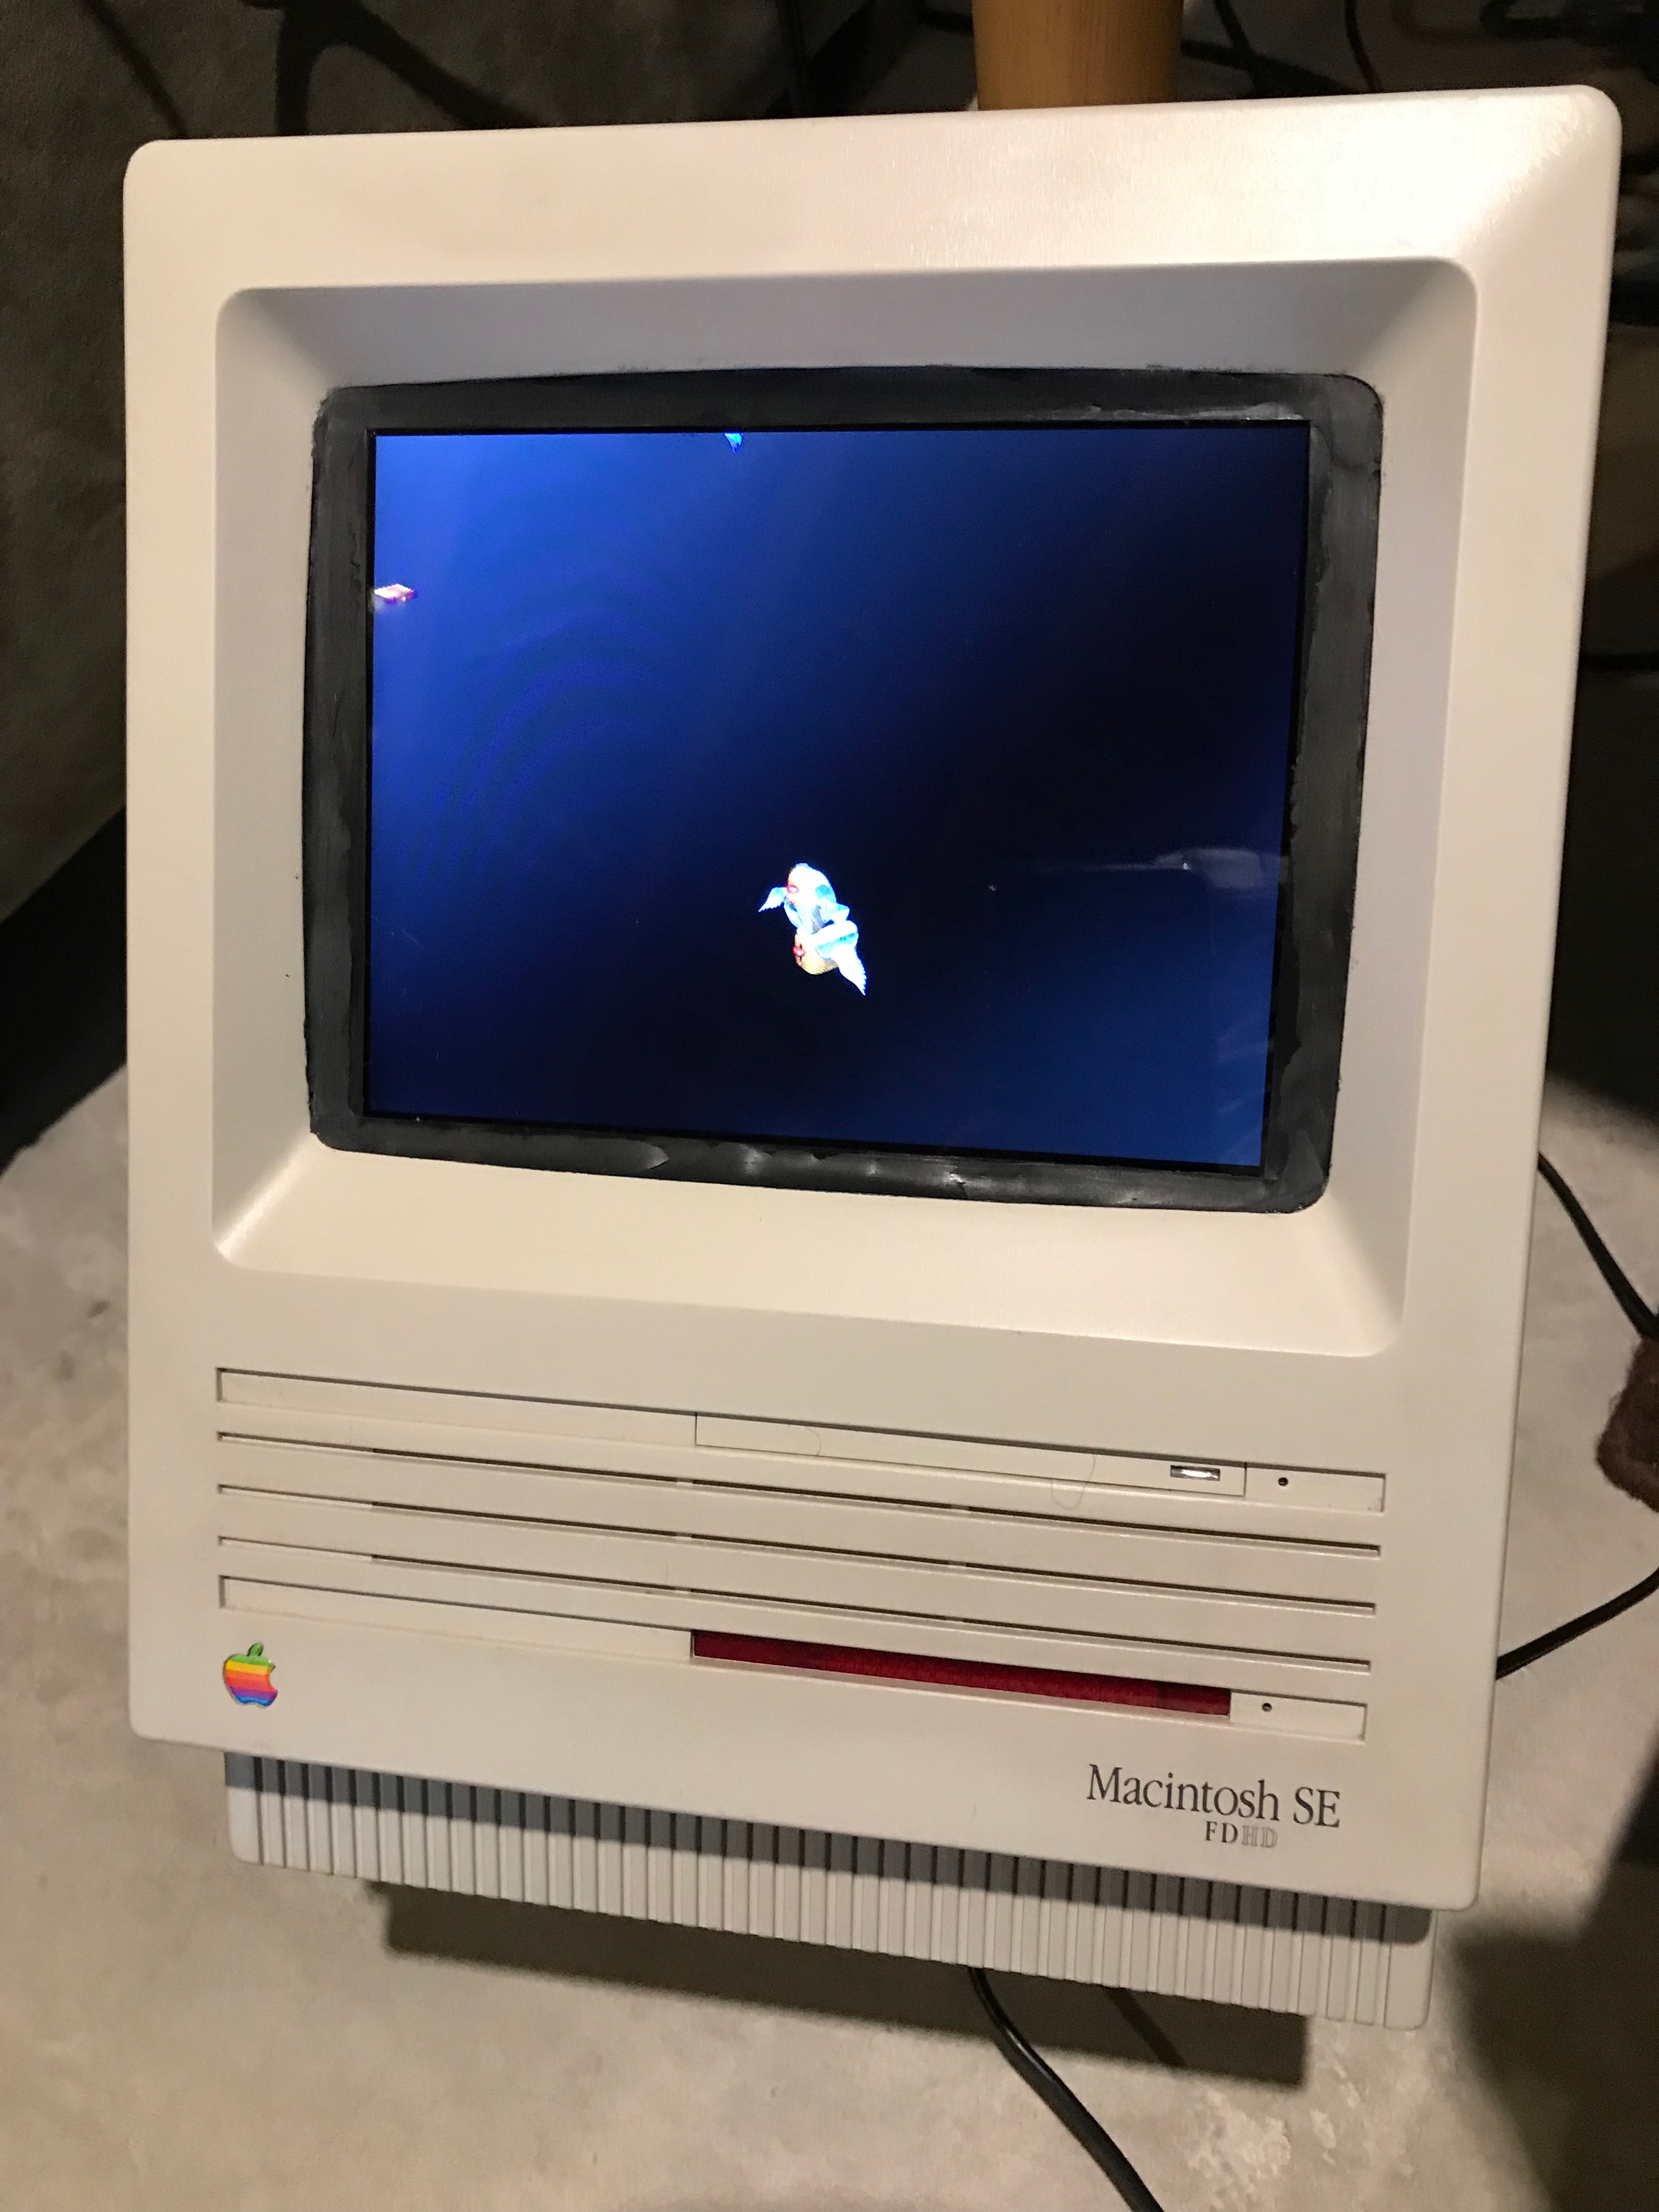
Mac SE Pi
The next project was to use one of the (many) dead Macintosh SE computers I have in my garage (don’t ask) to house a Raspberry Pi based emulated Macintosh.
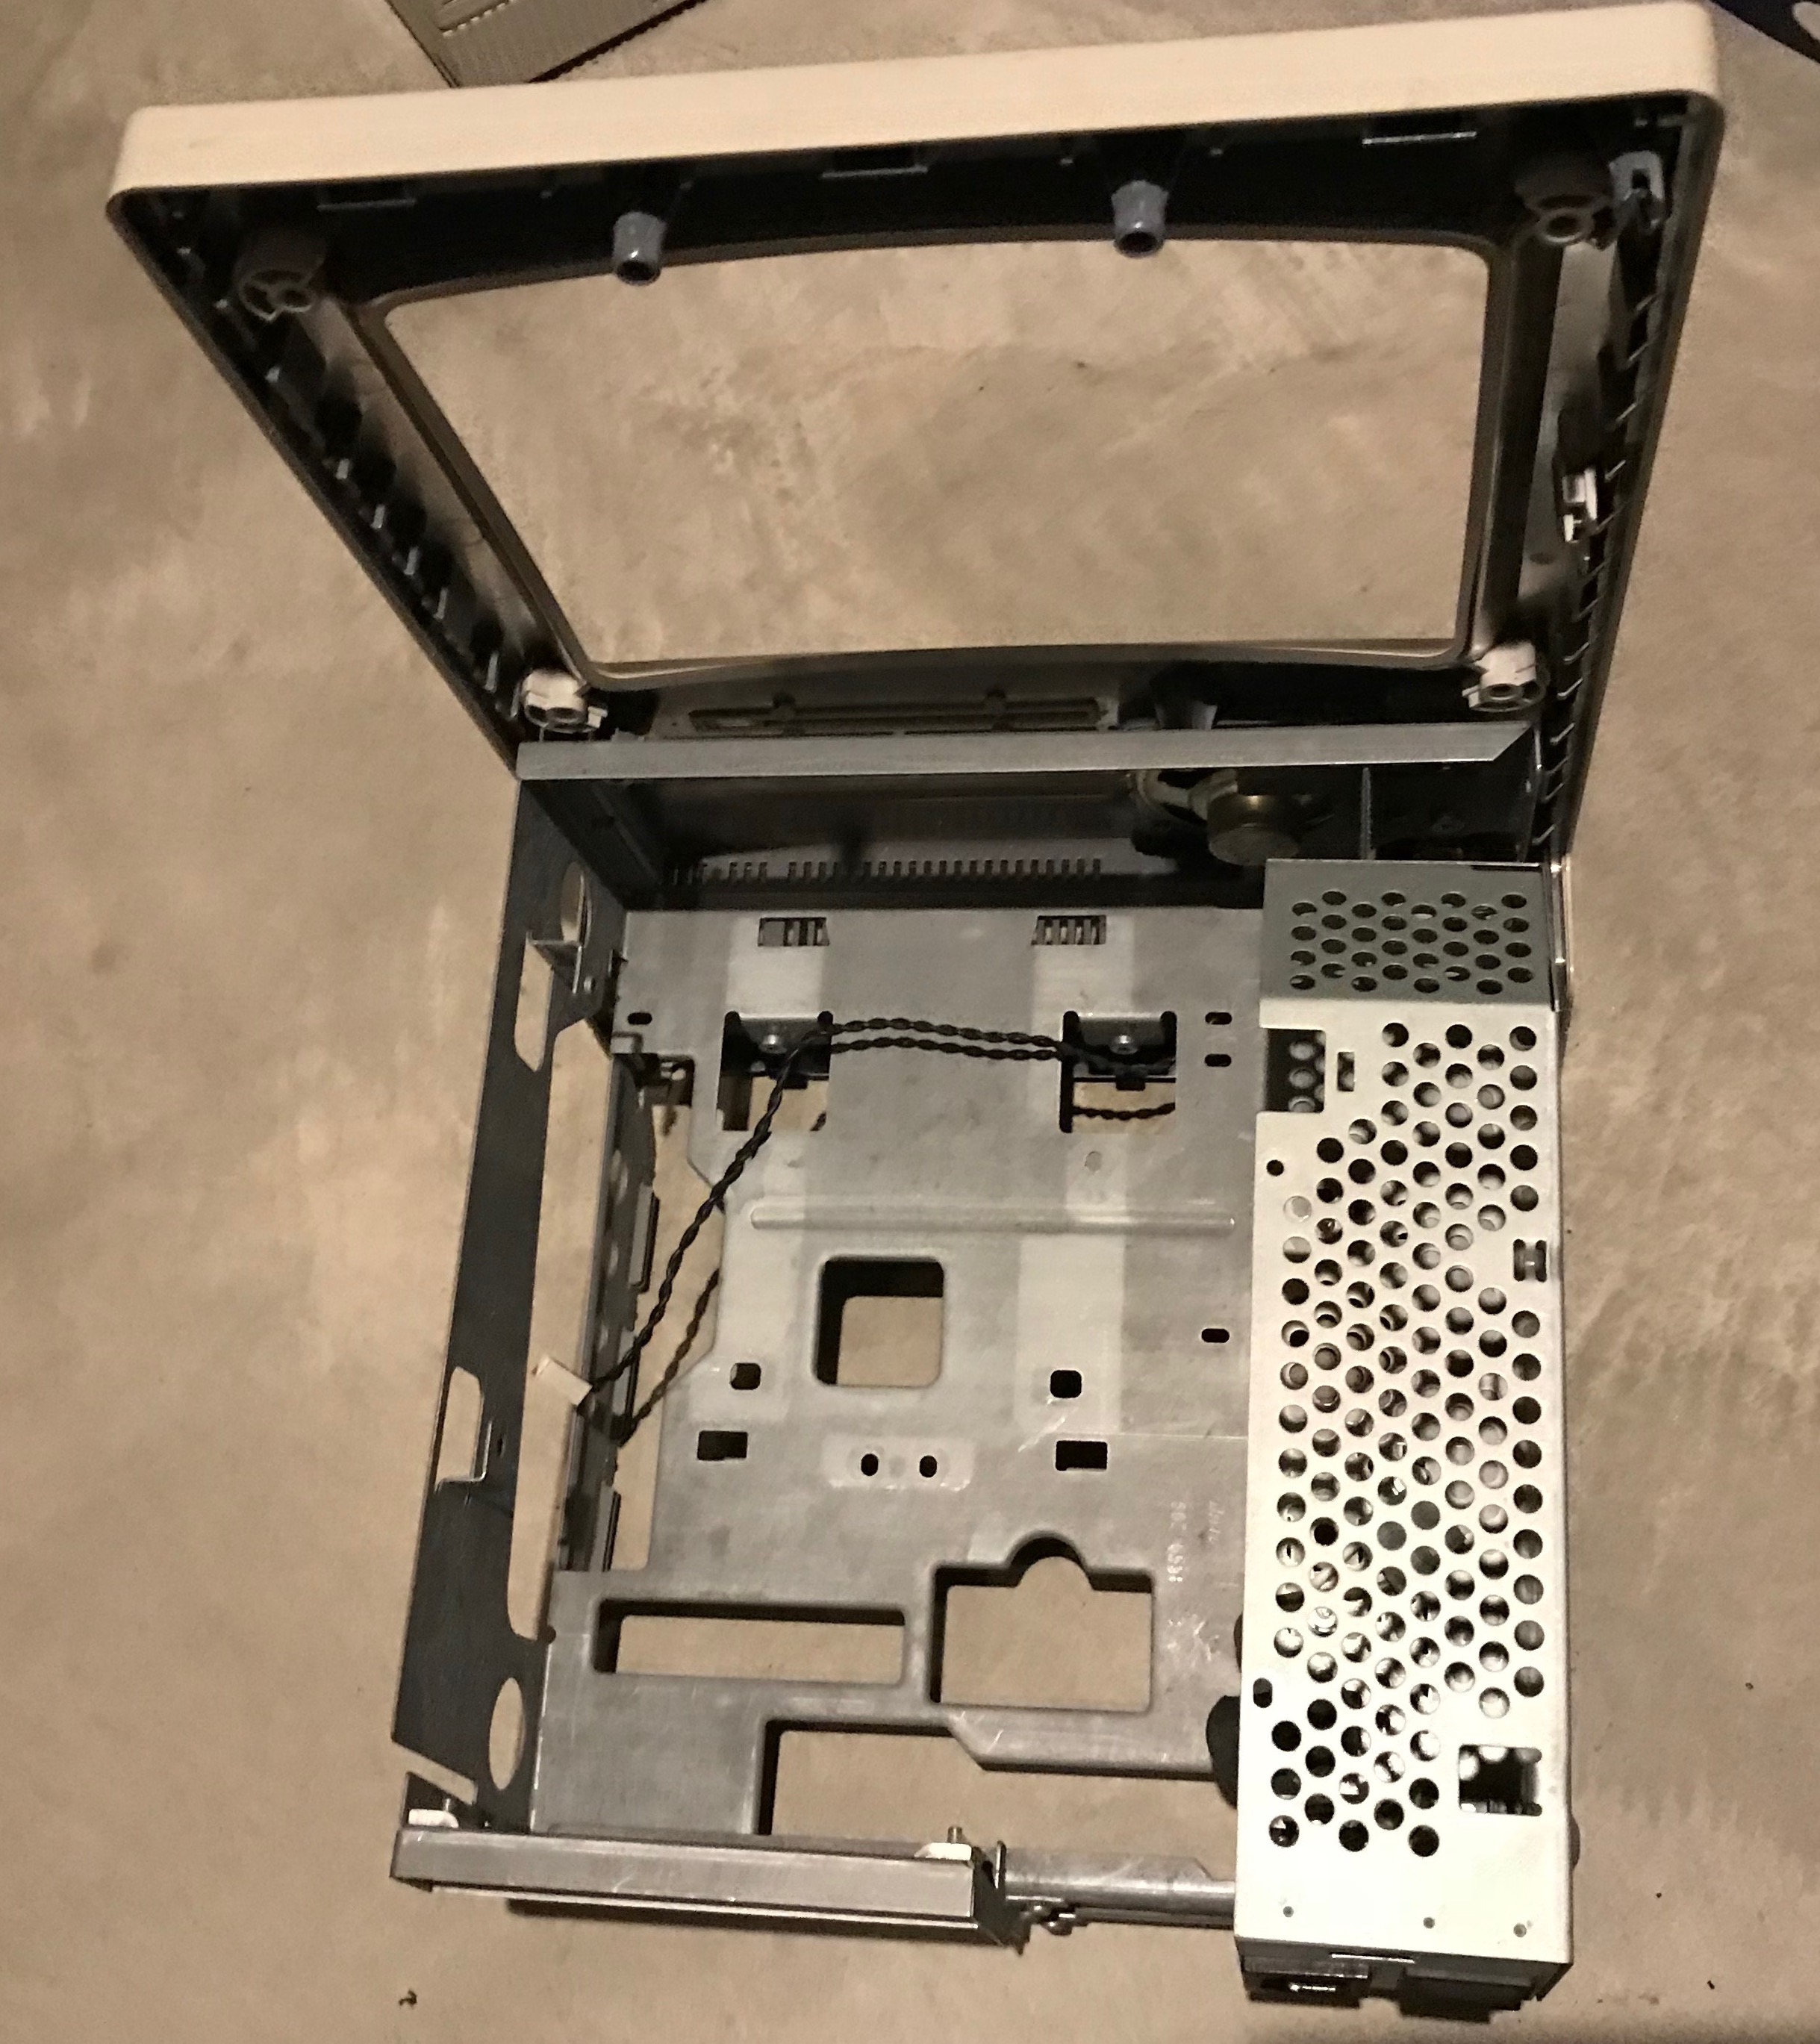
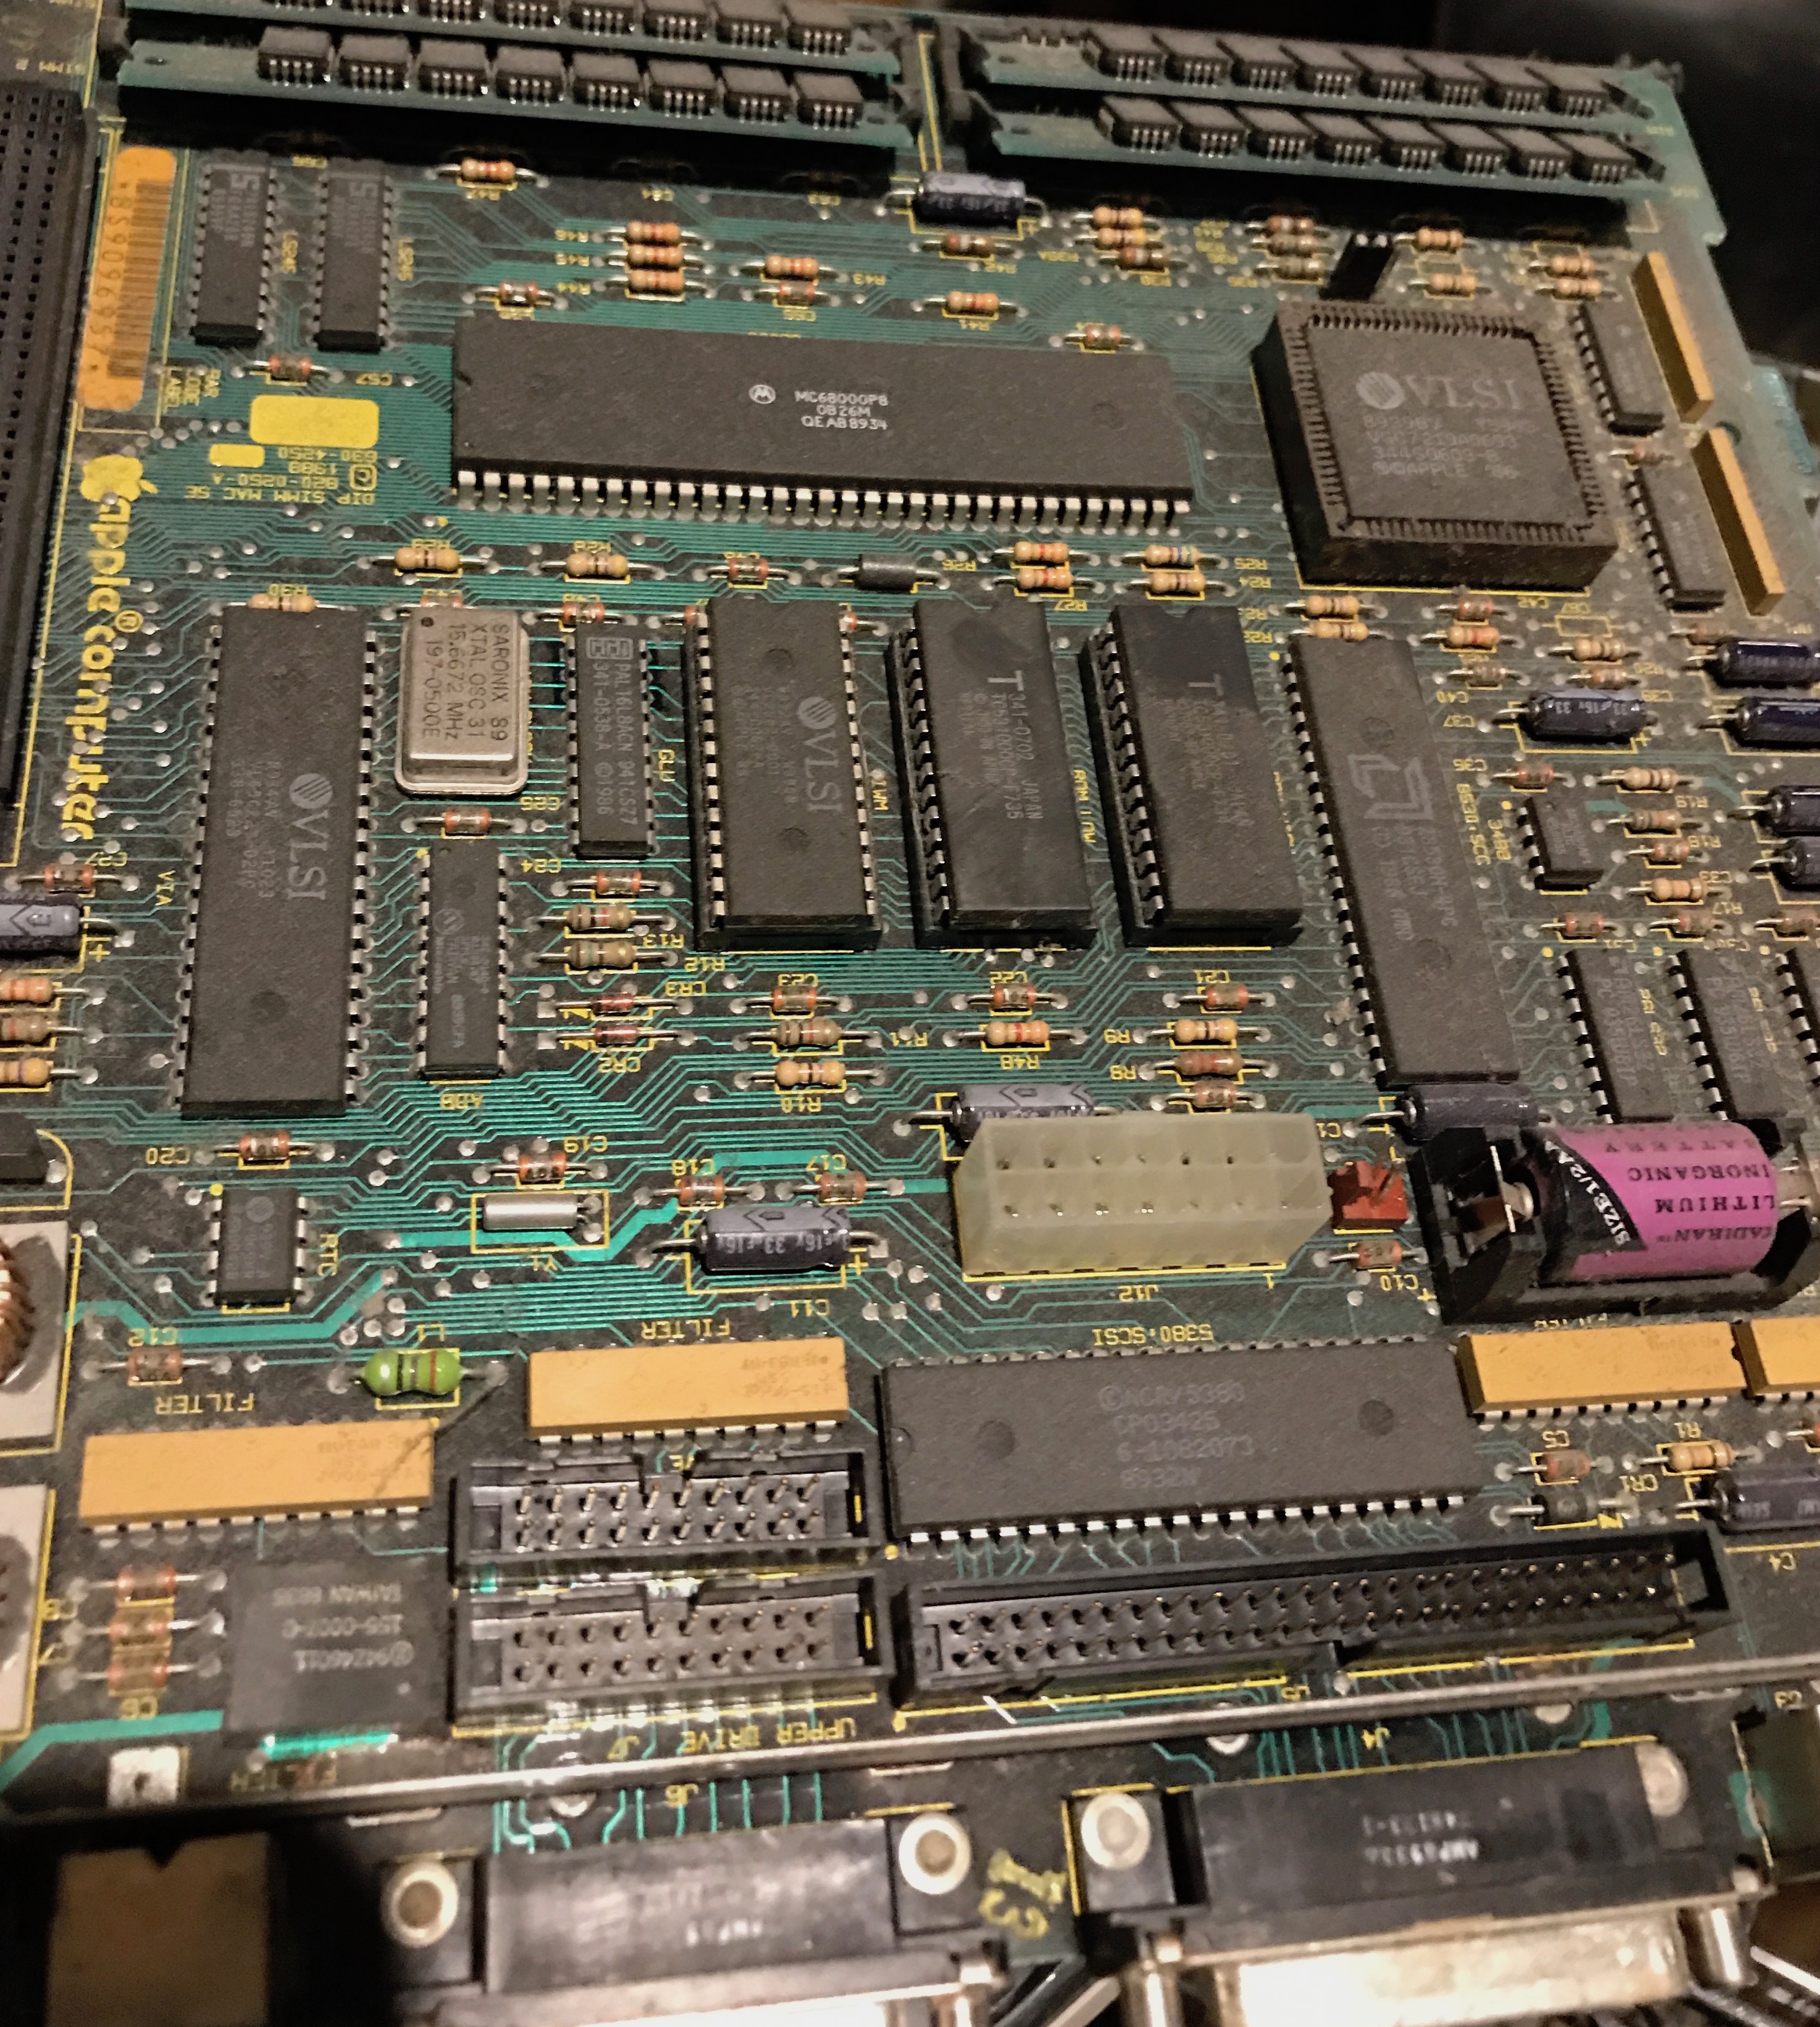
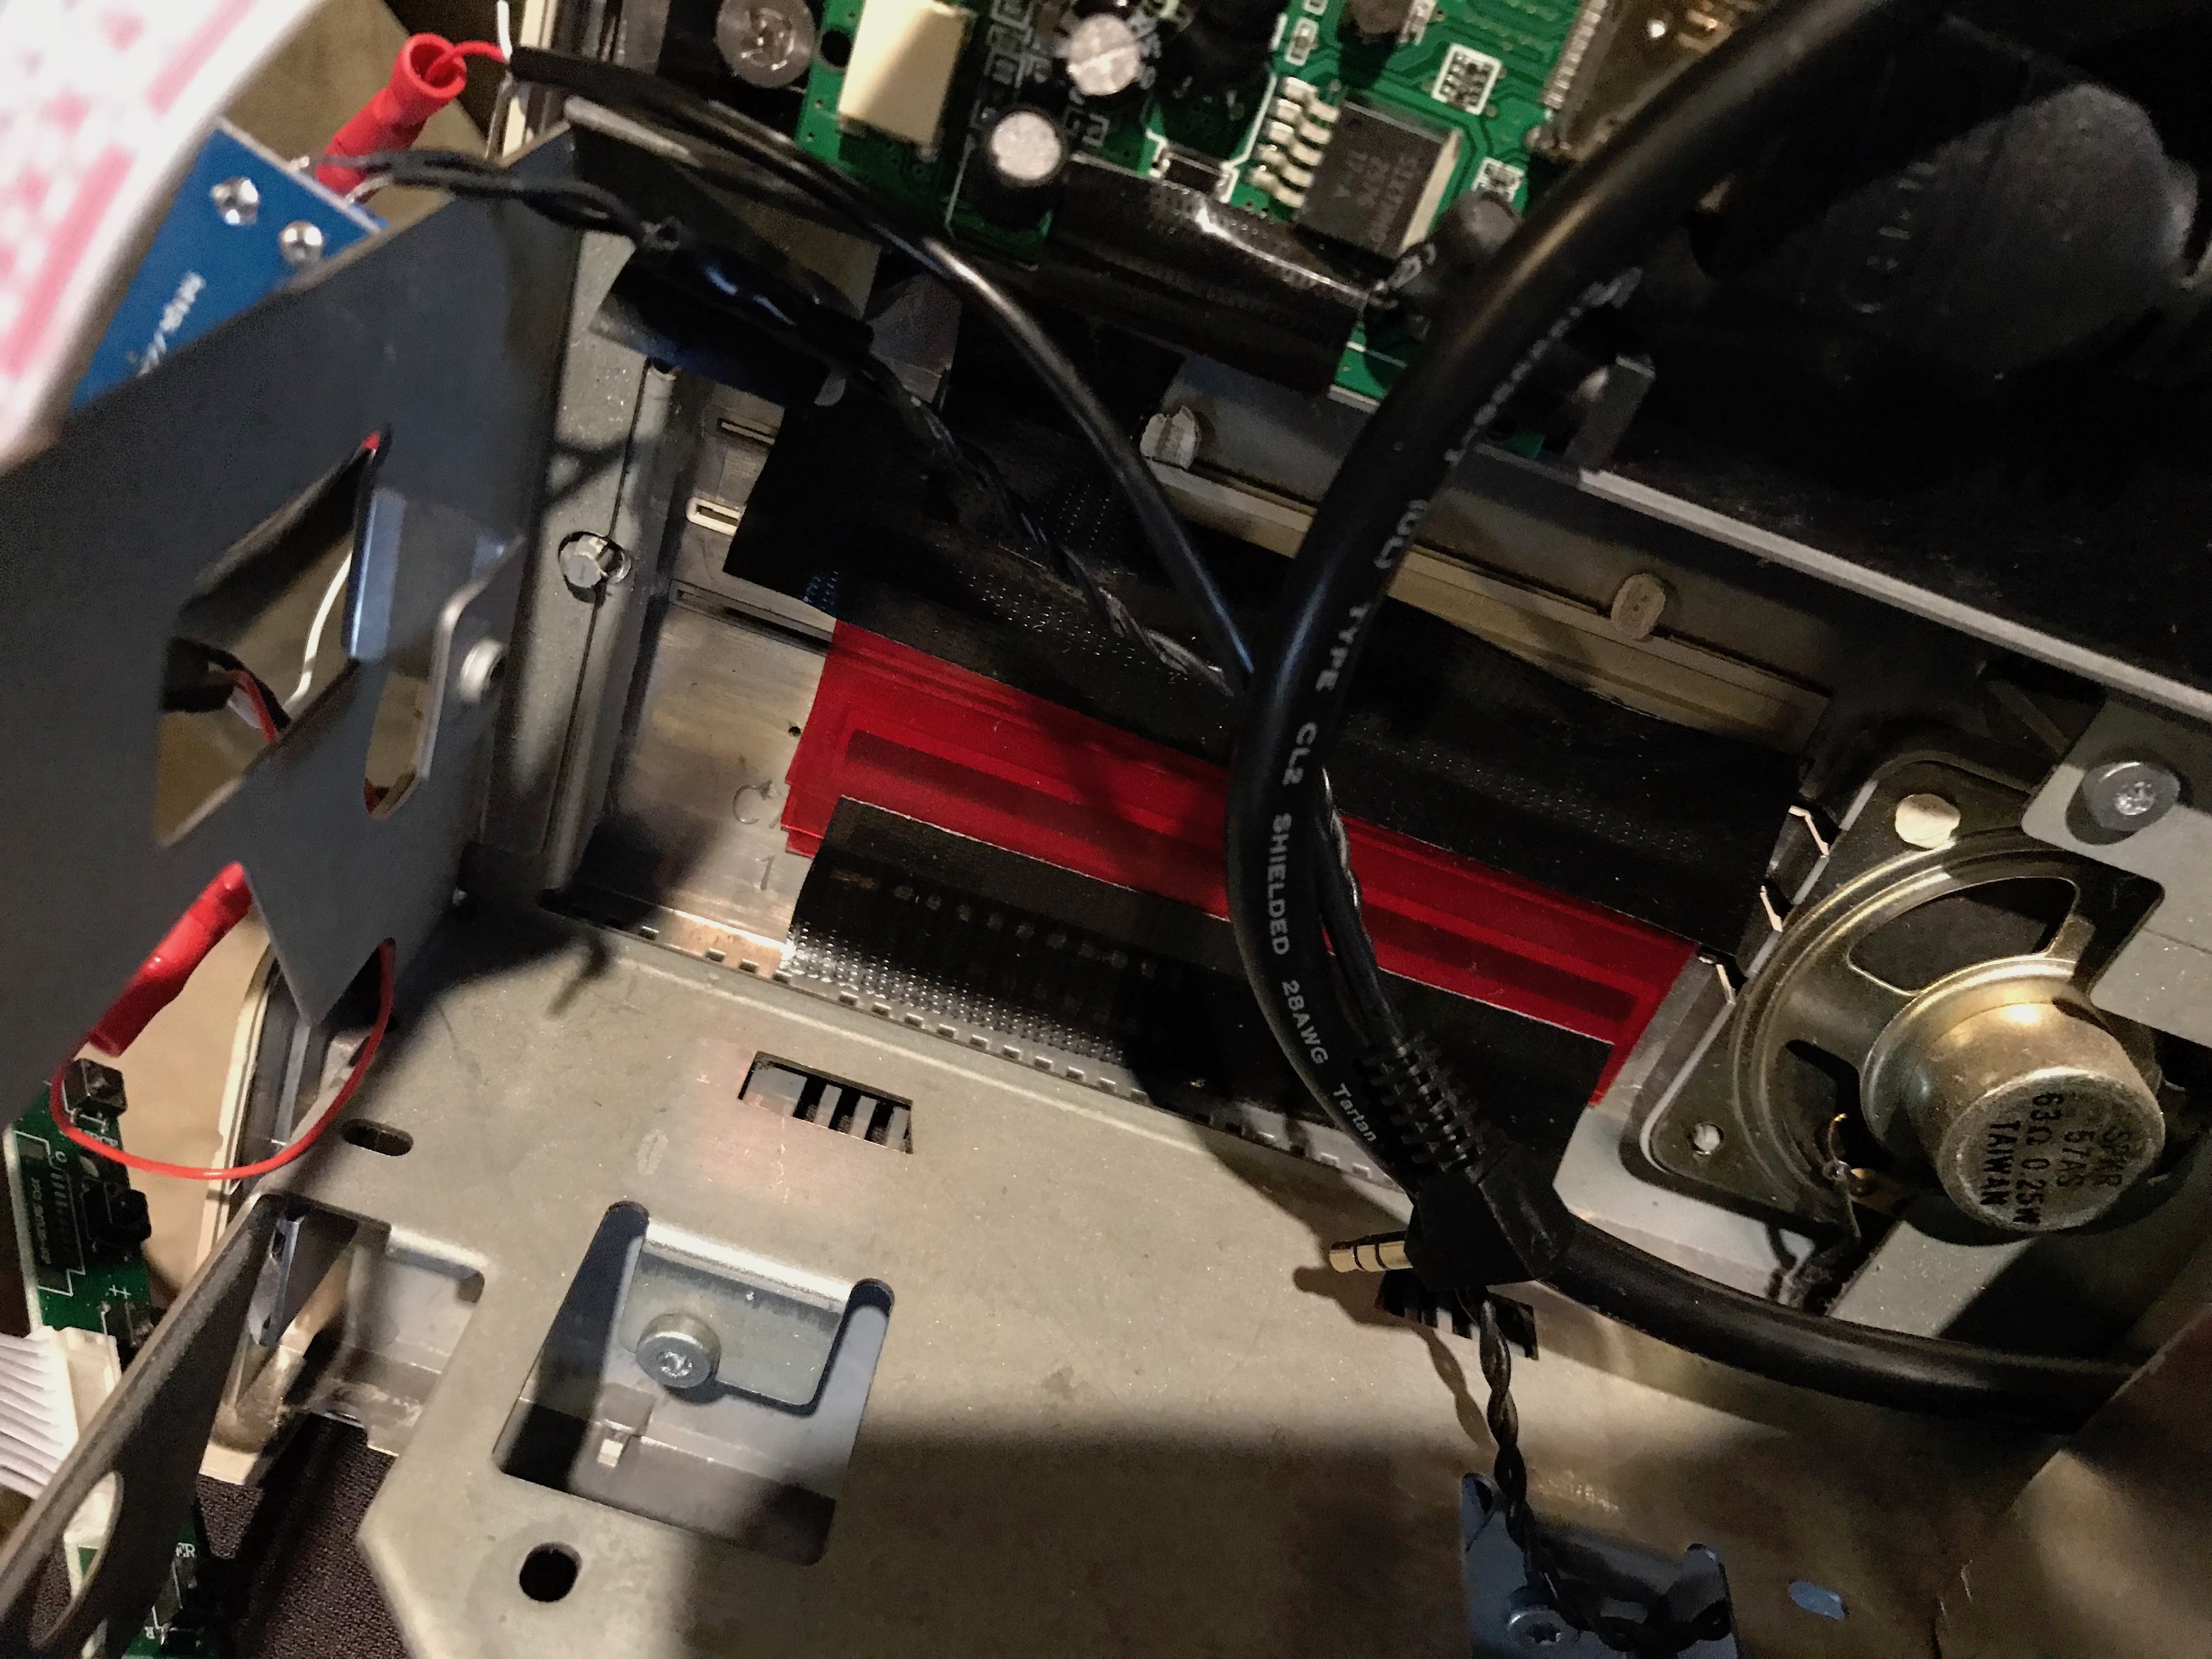
The first step was to gut it. I had some long hex torx bits which included a T-15 that was long enough to get to the screws under the handle. I basically just pulled out everything I could including the dirty old logic board.
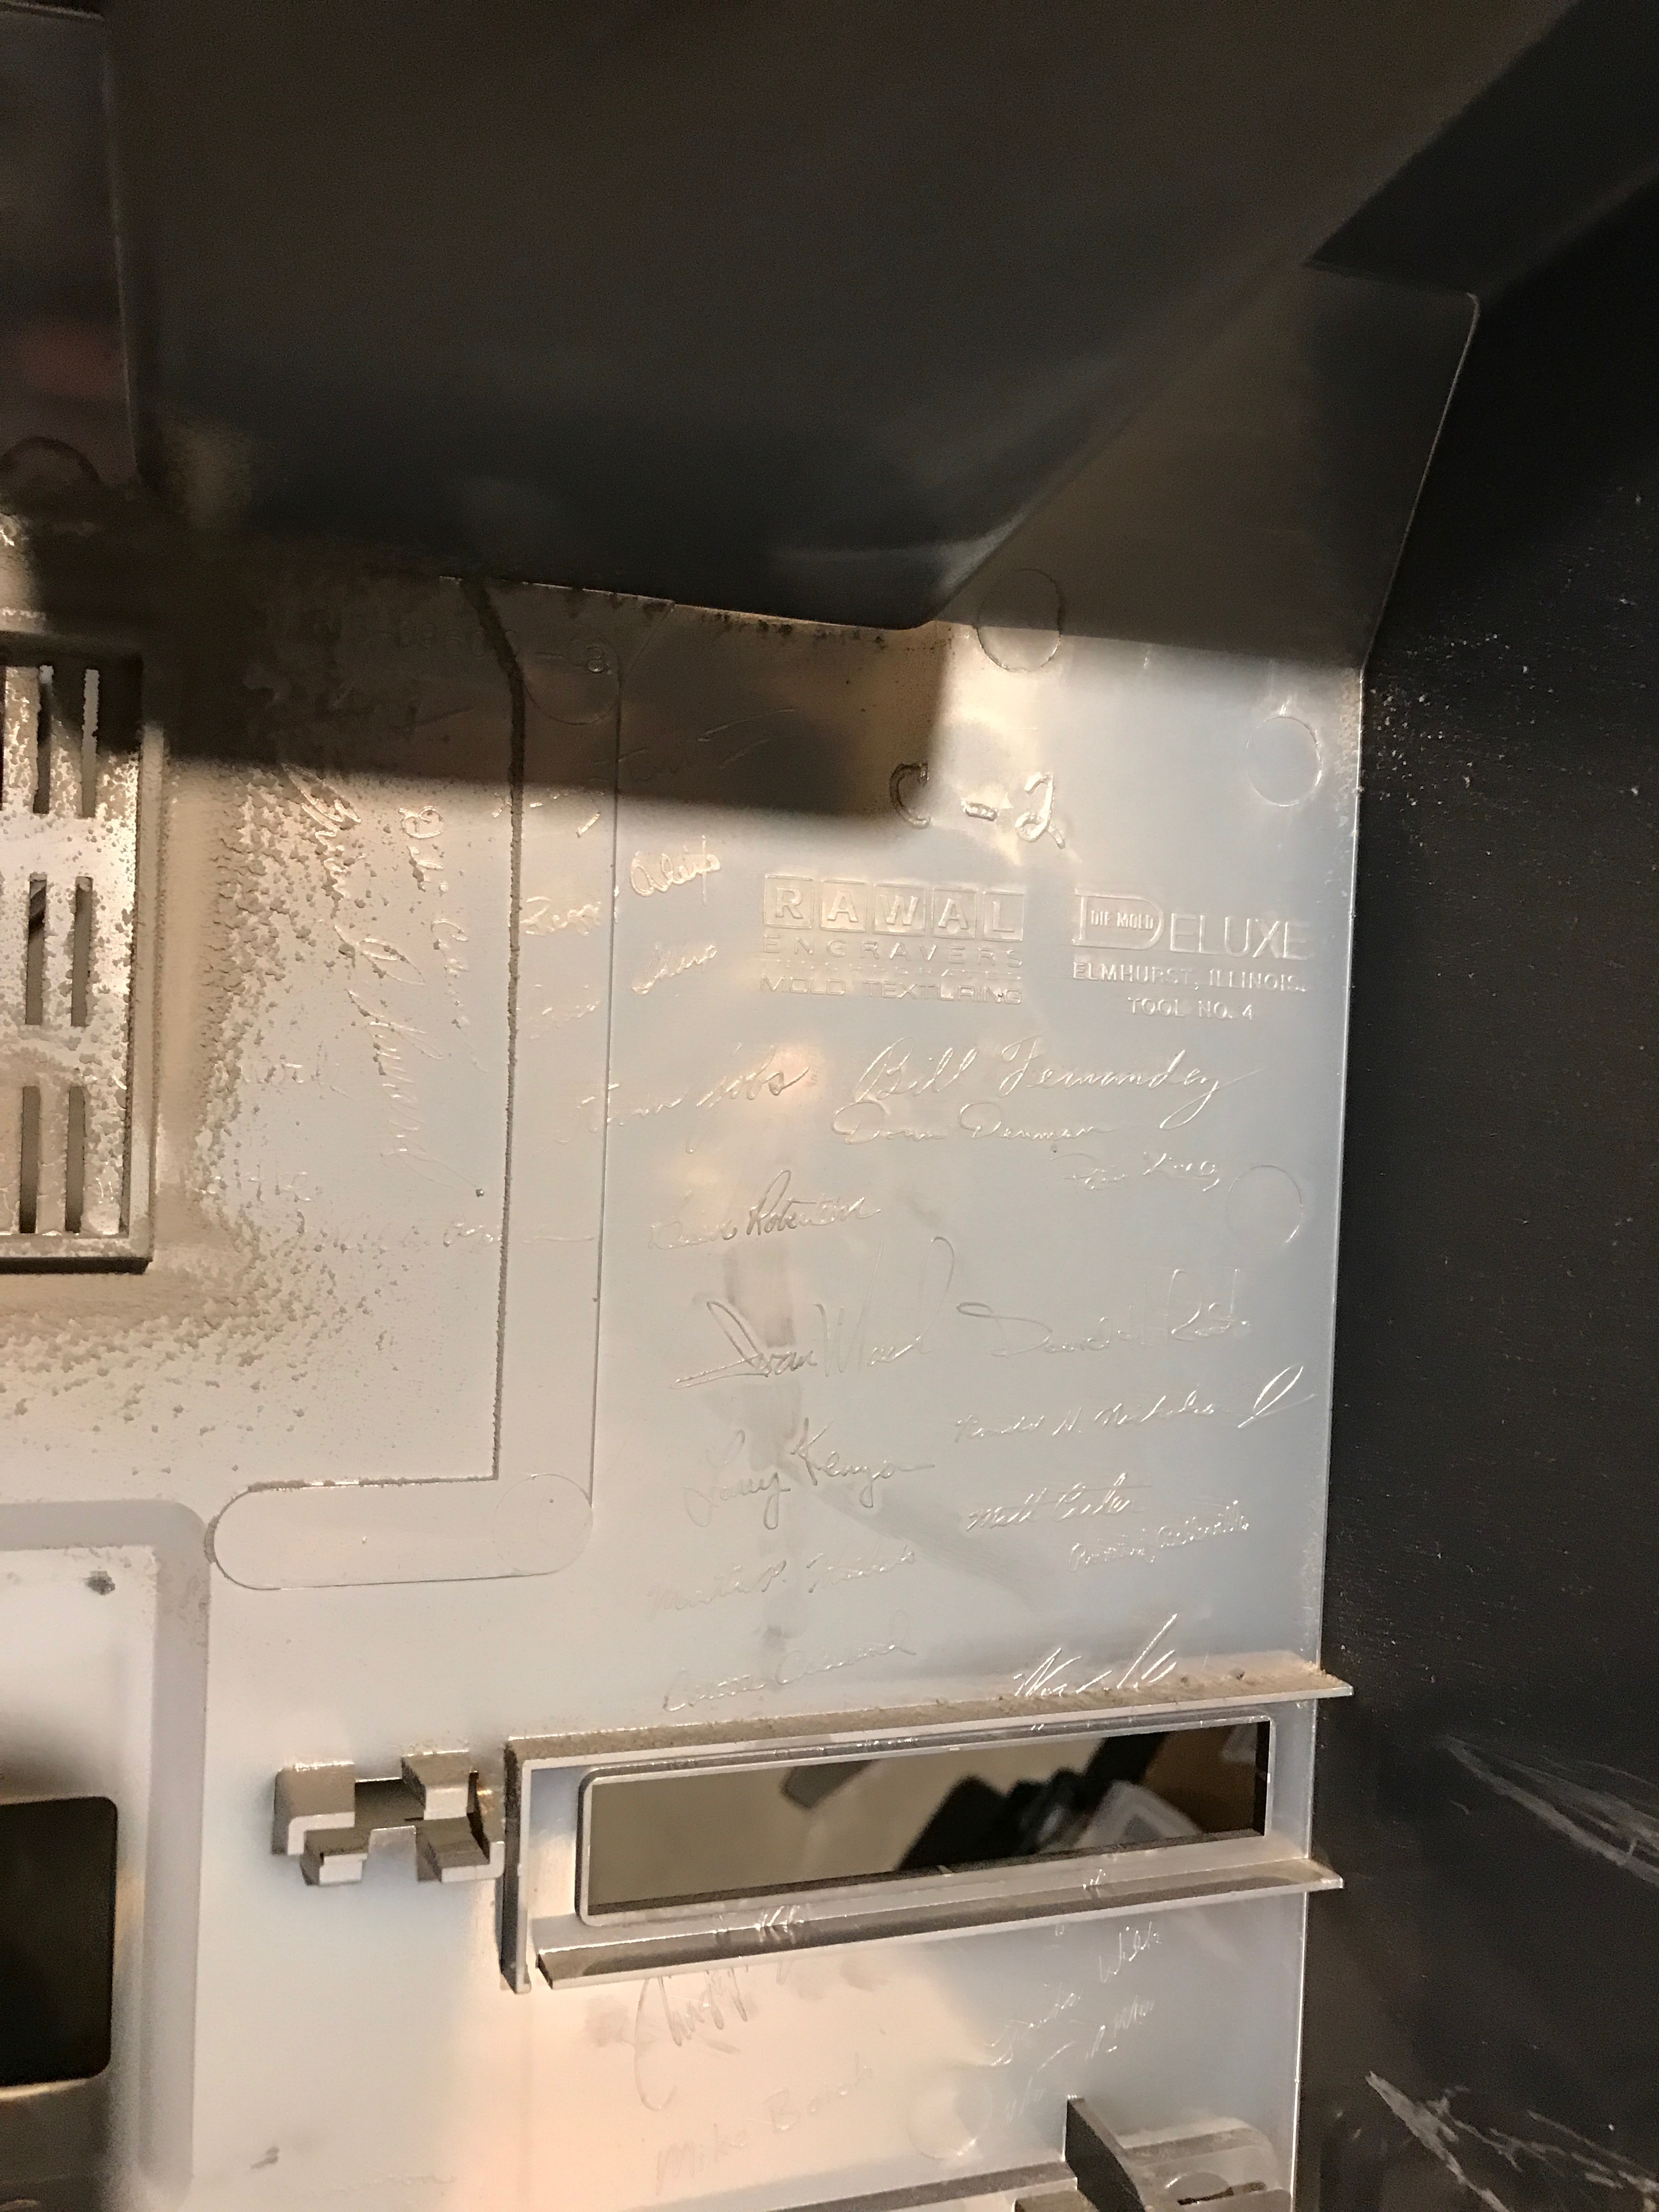
On the inside of the case, you can find the signatures of the artists who created this work.
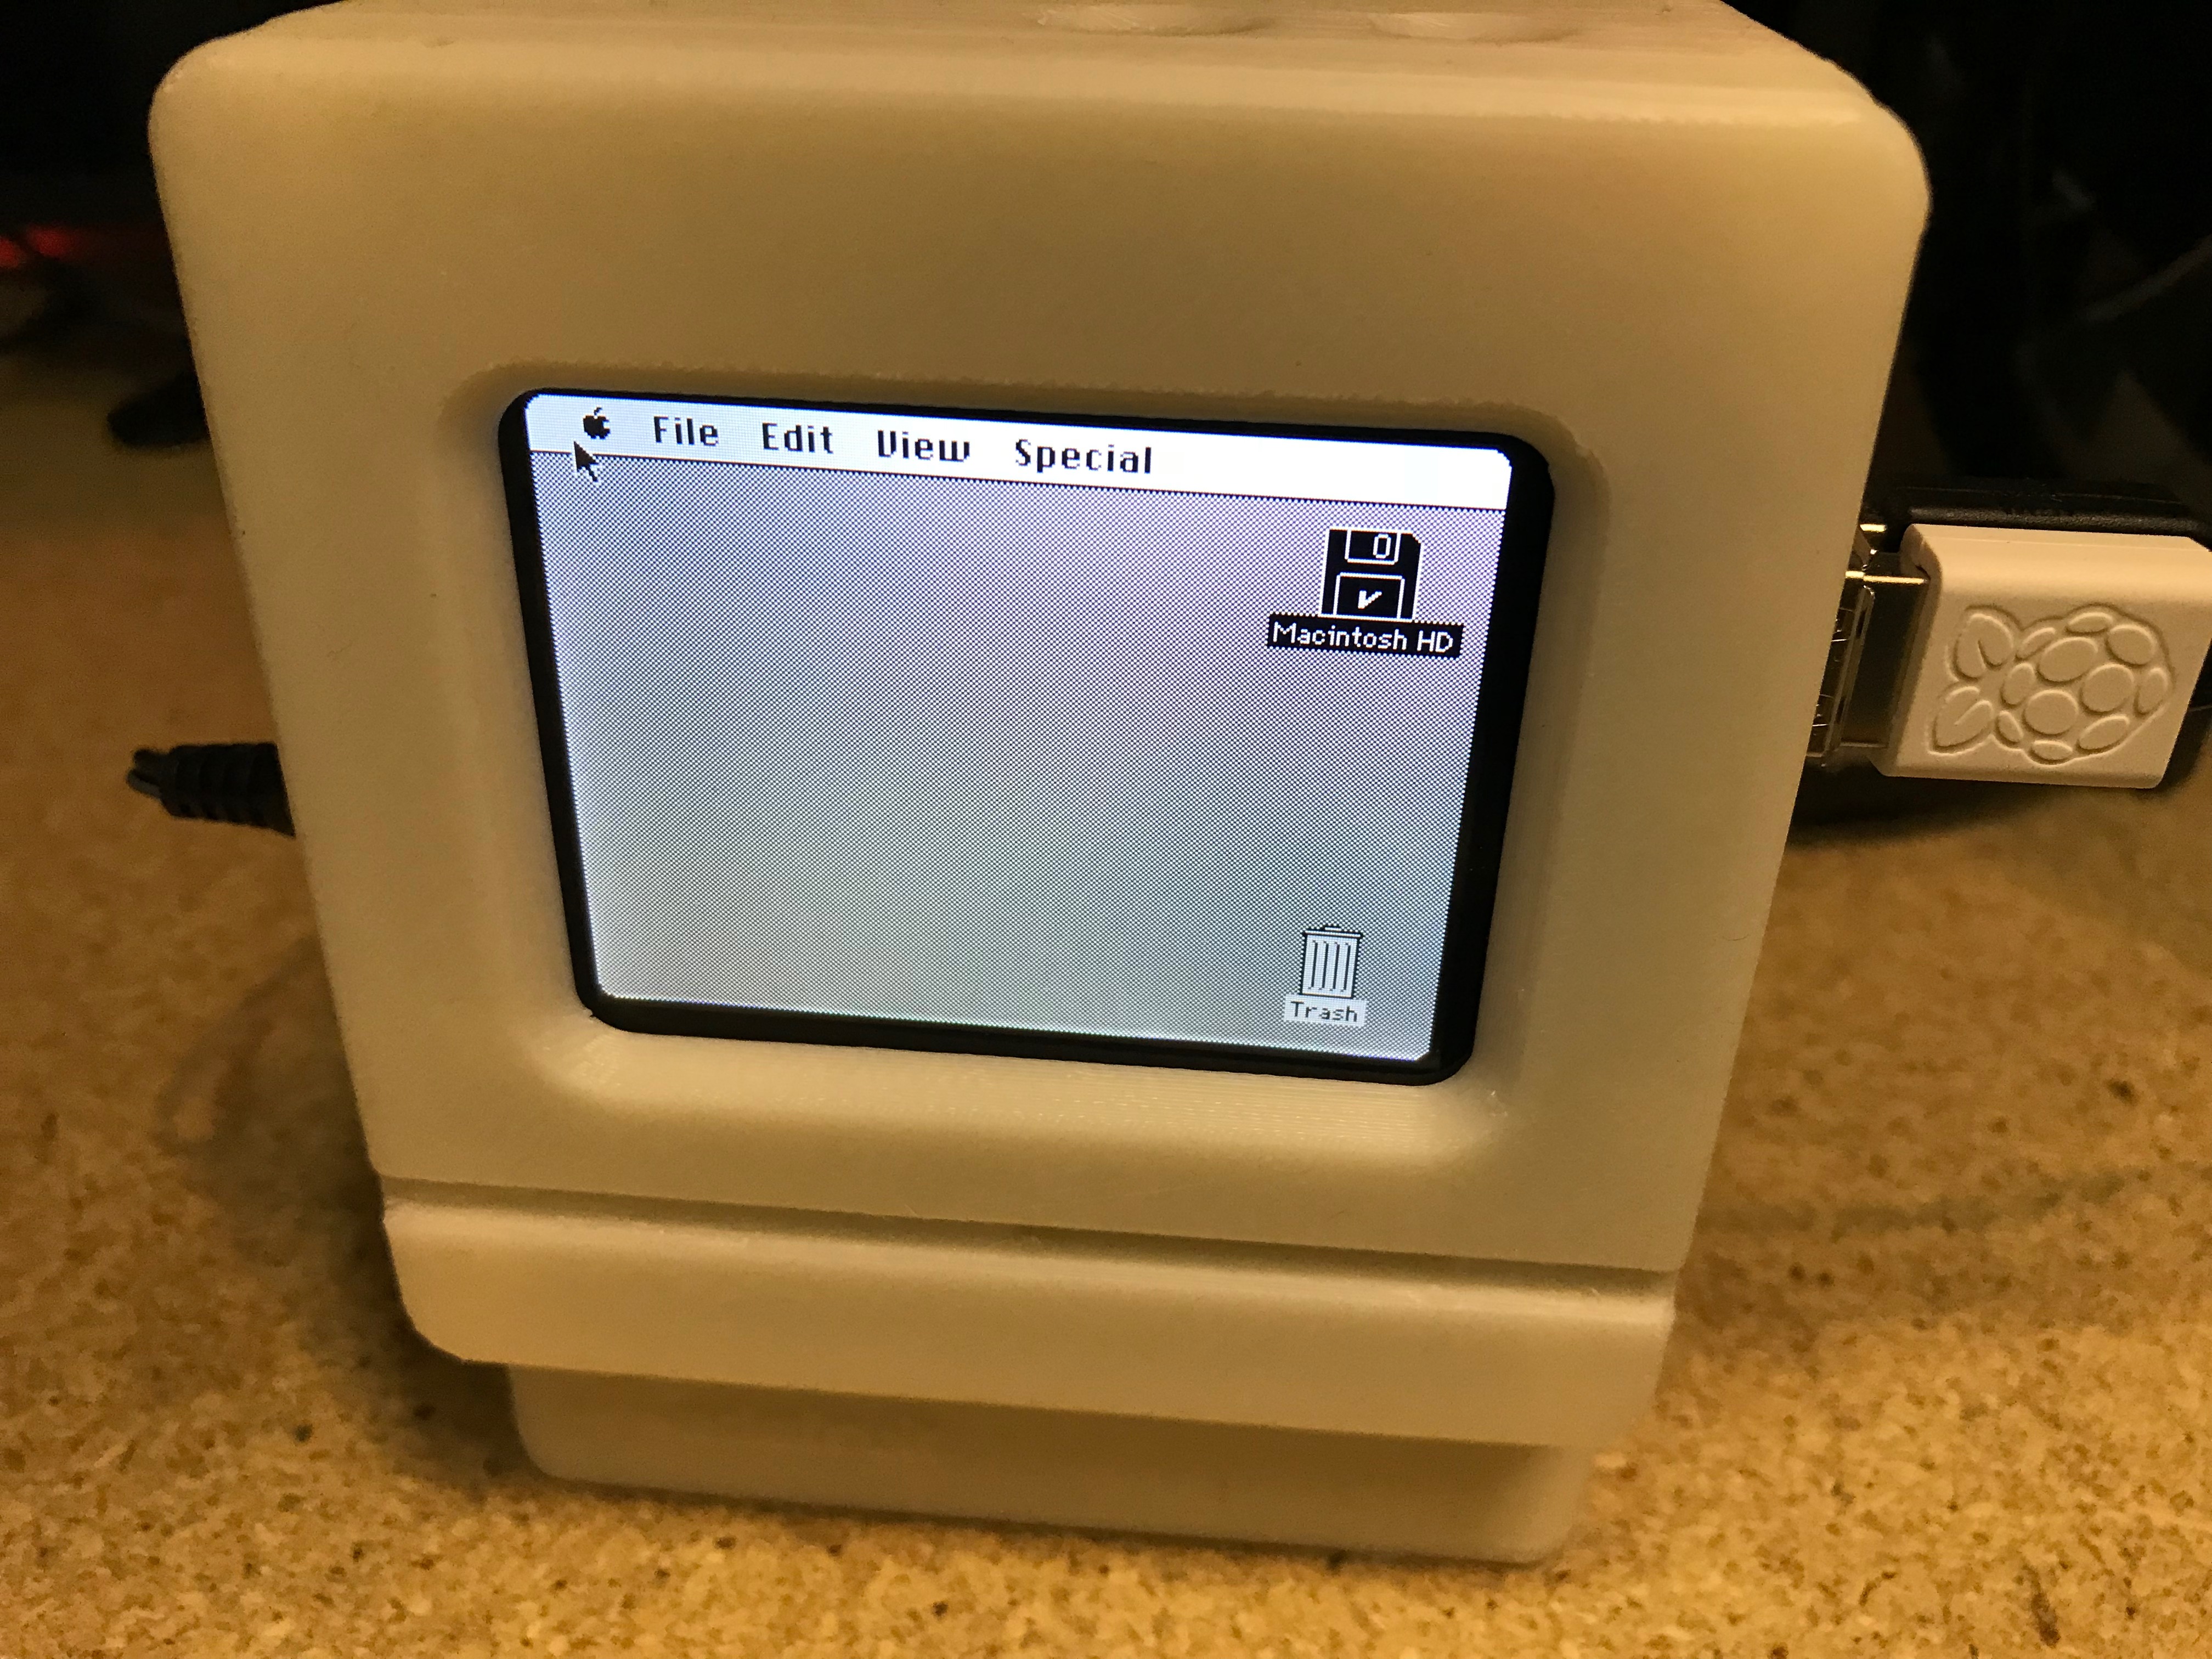
The first and most challenging thing was to find a display that fit. I measured it and looked for an plain 8" LCD display.
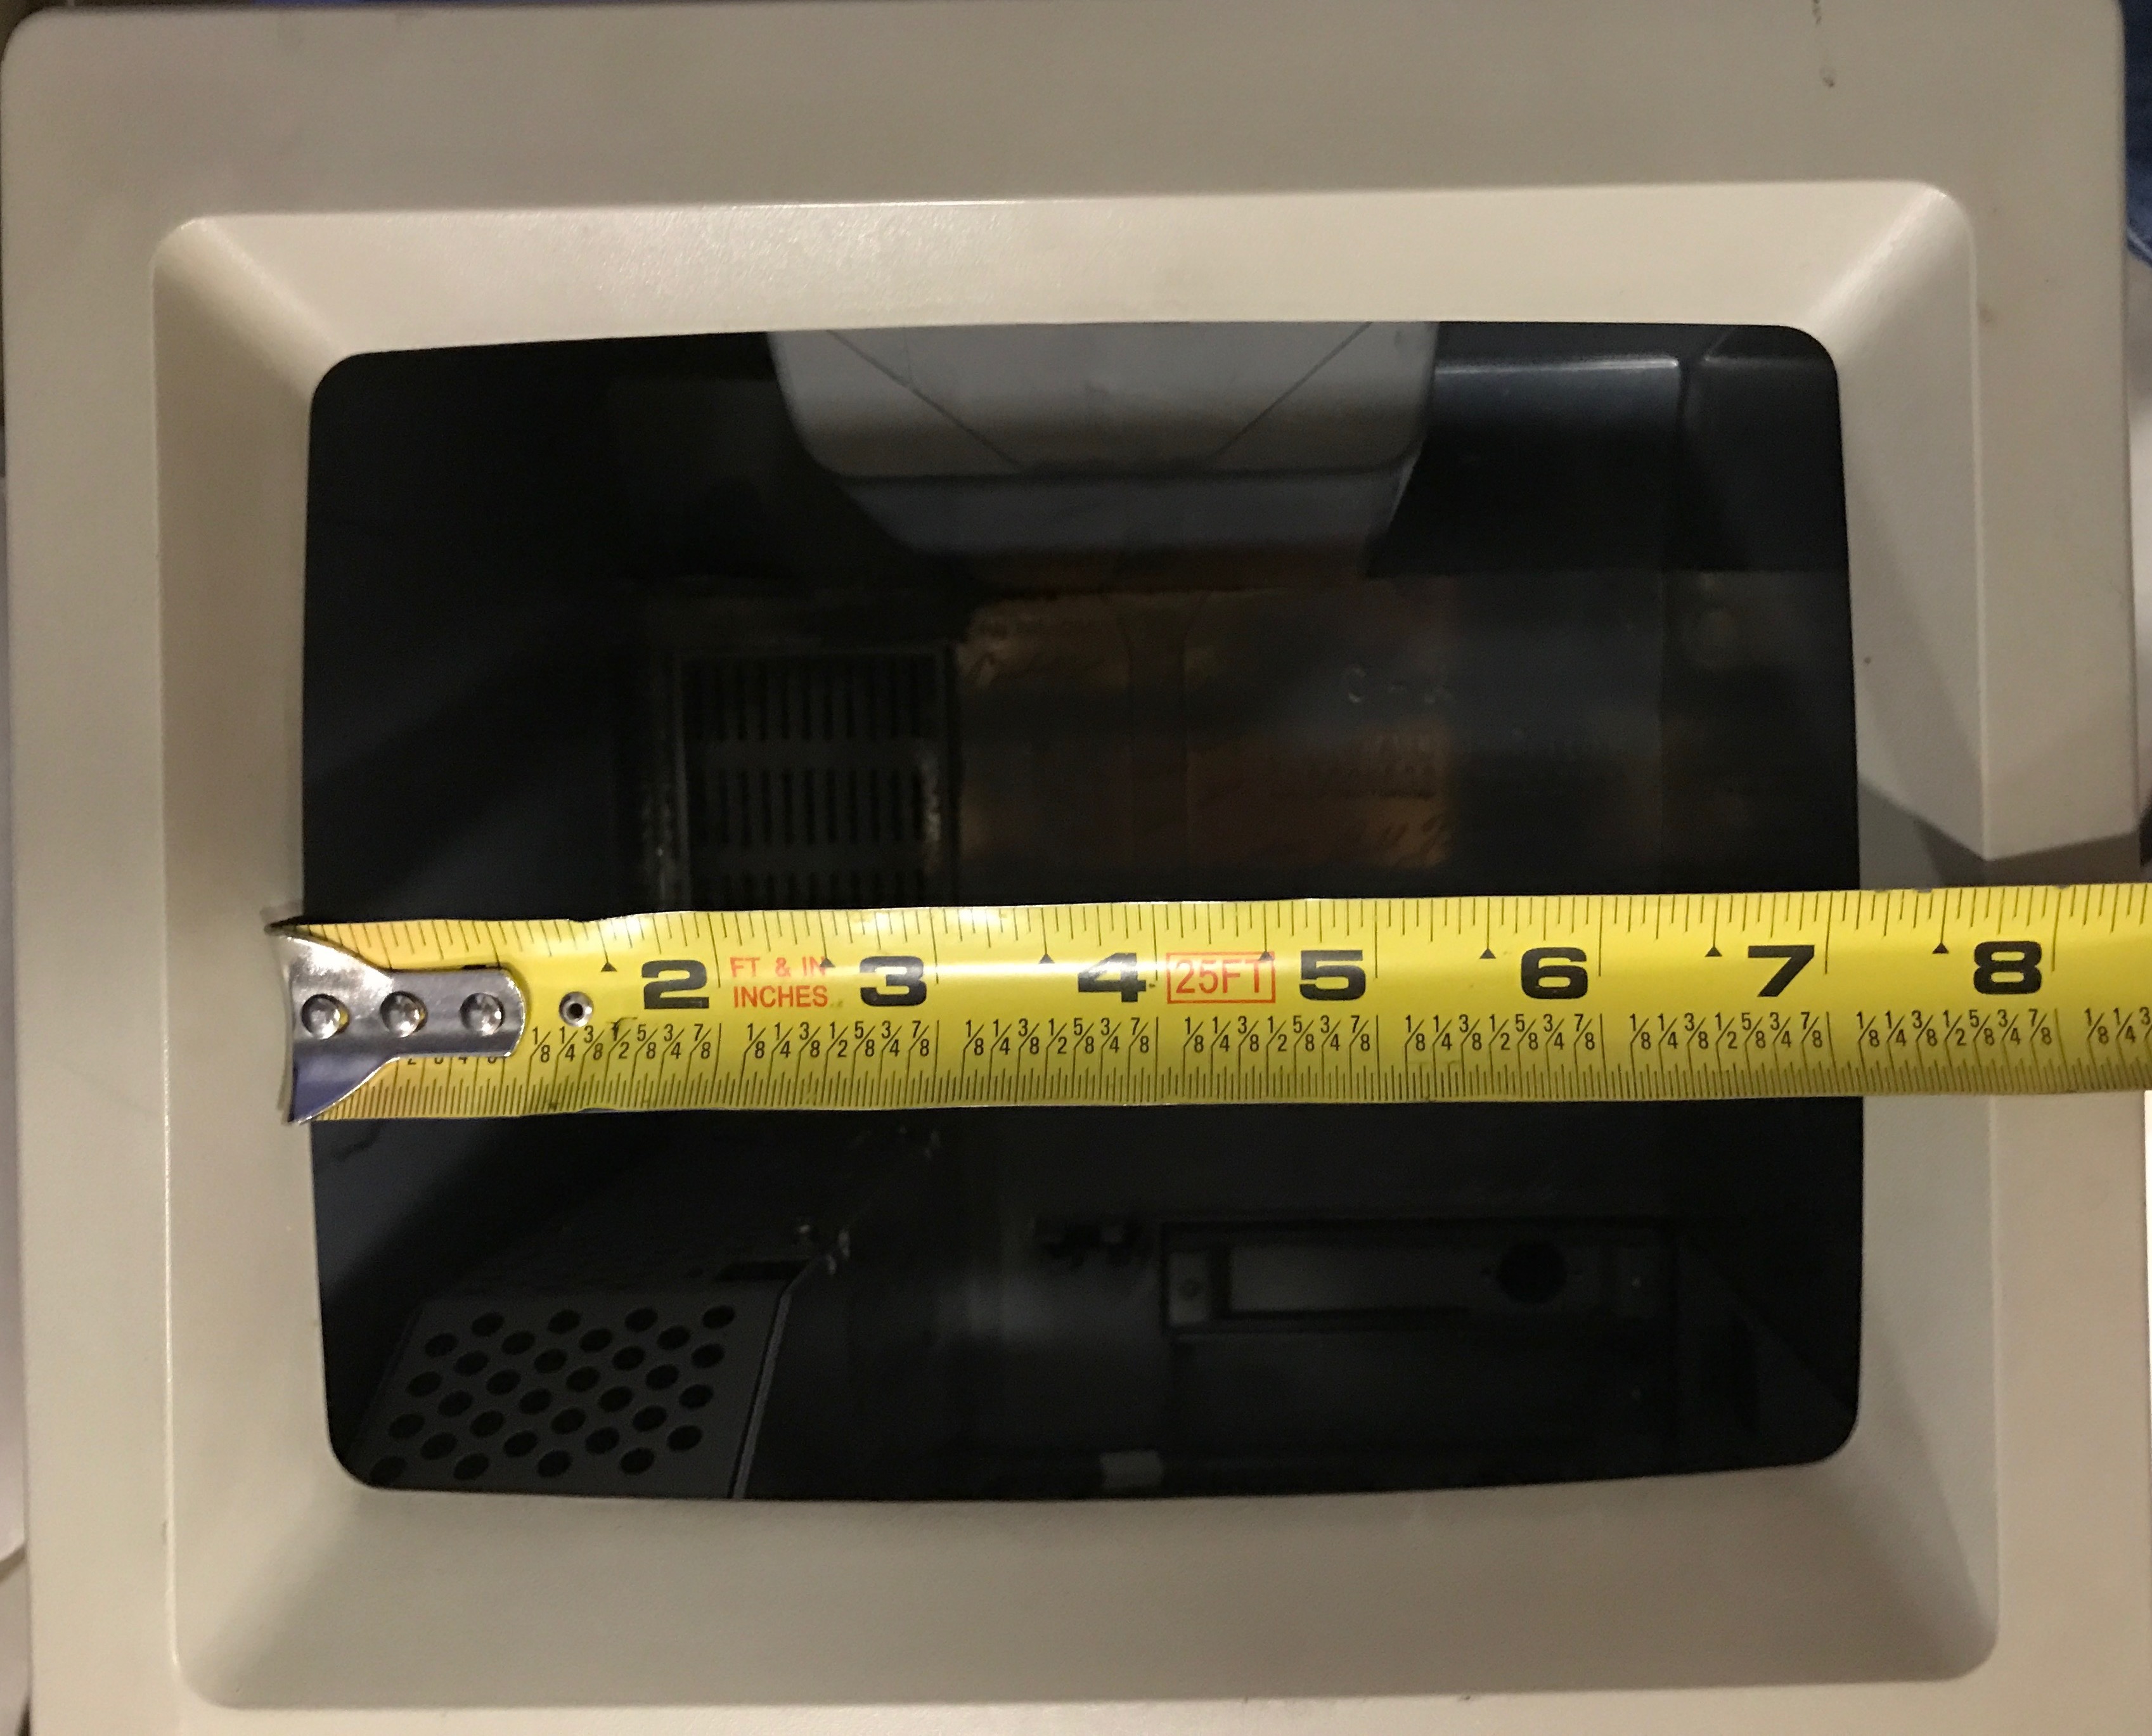
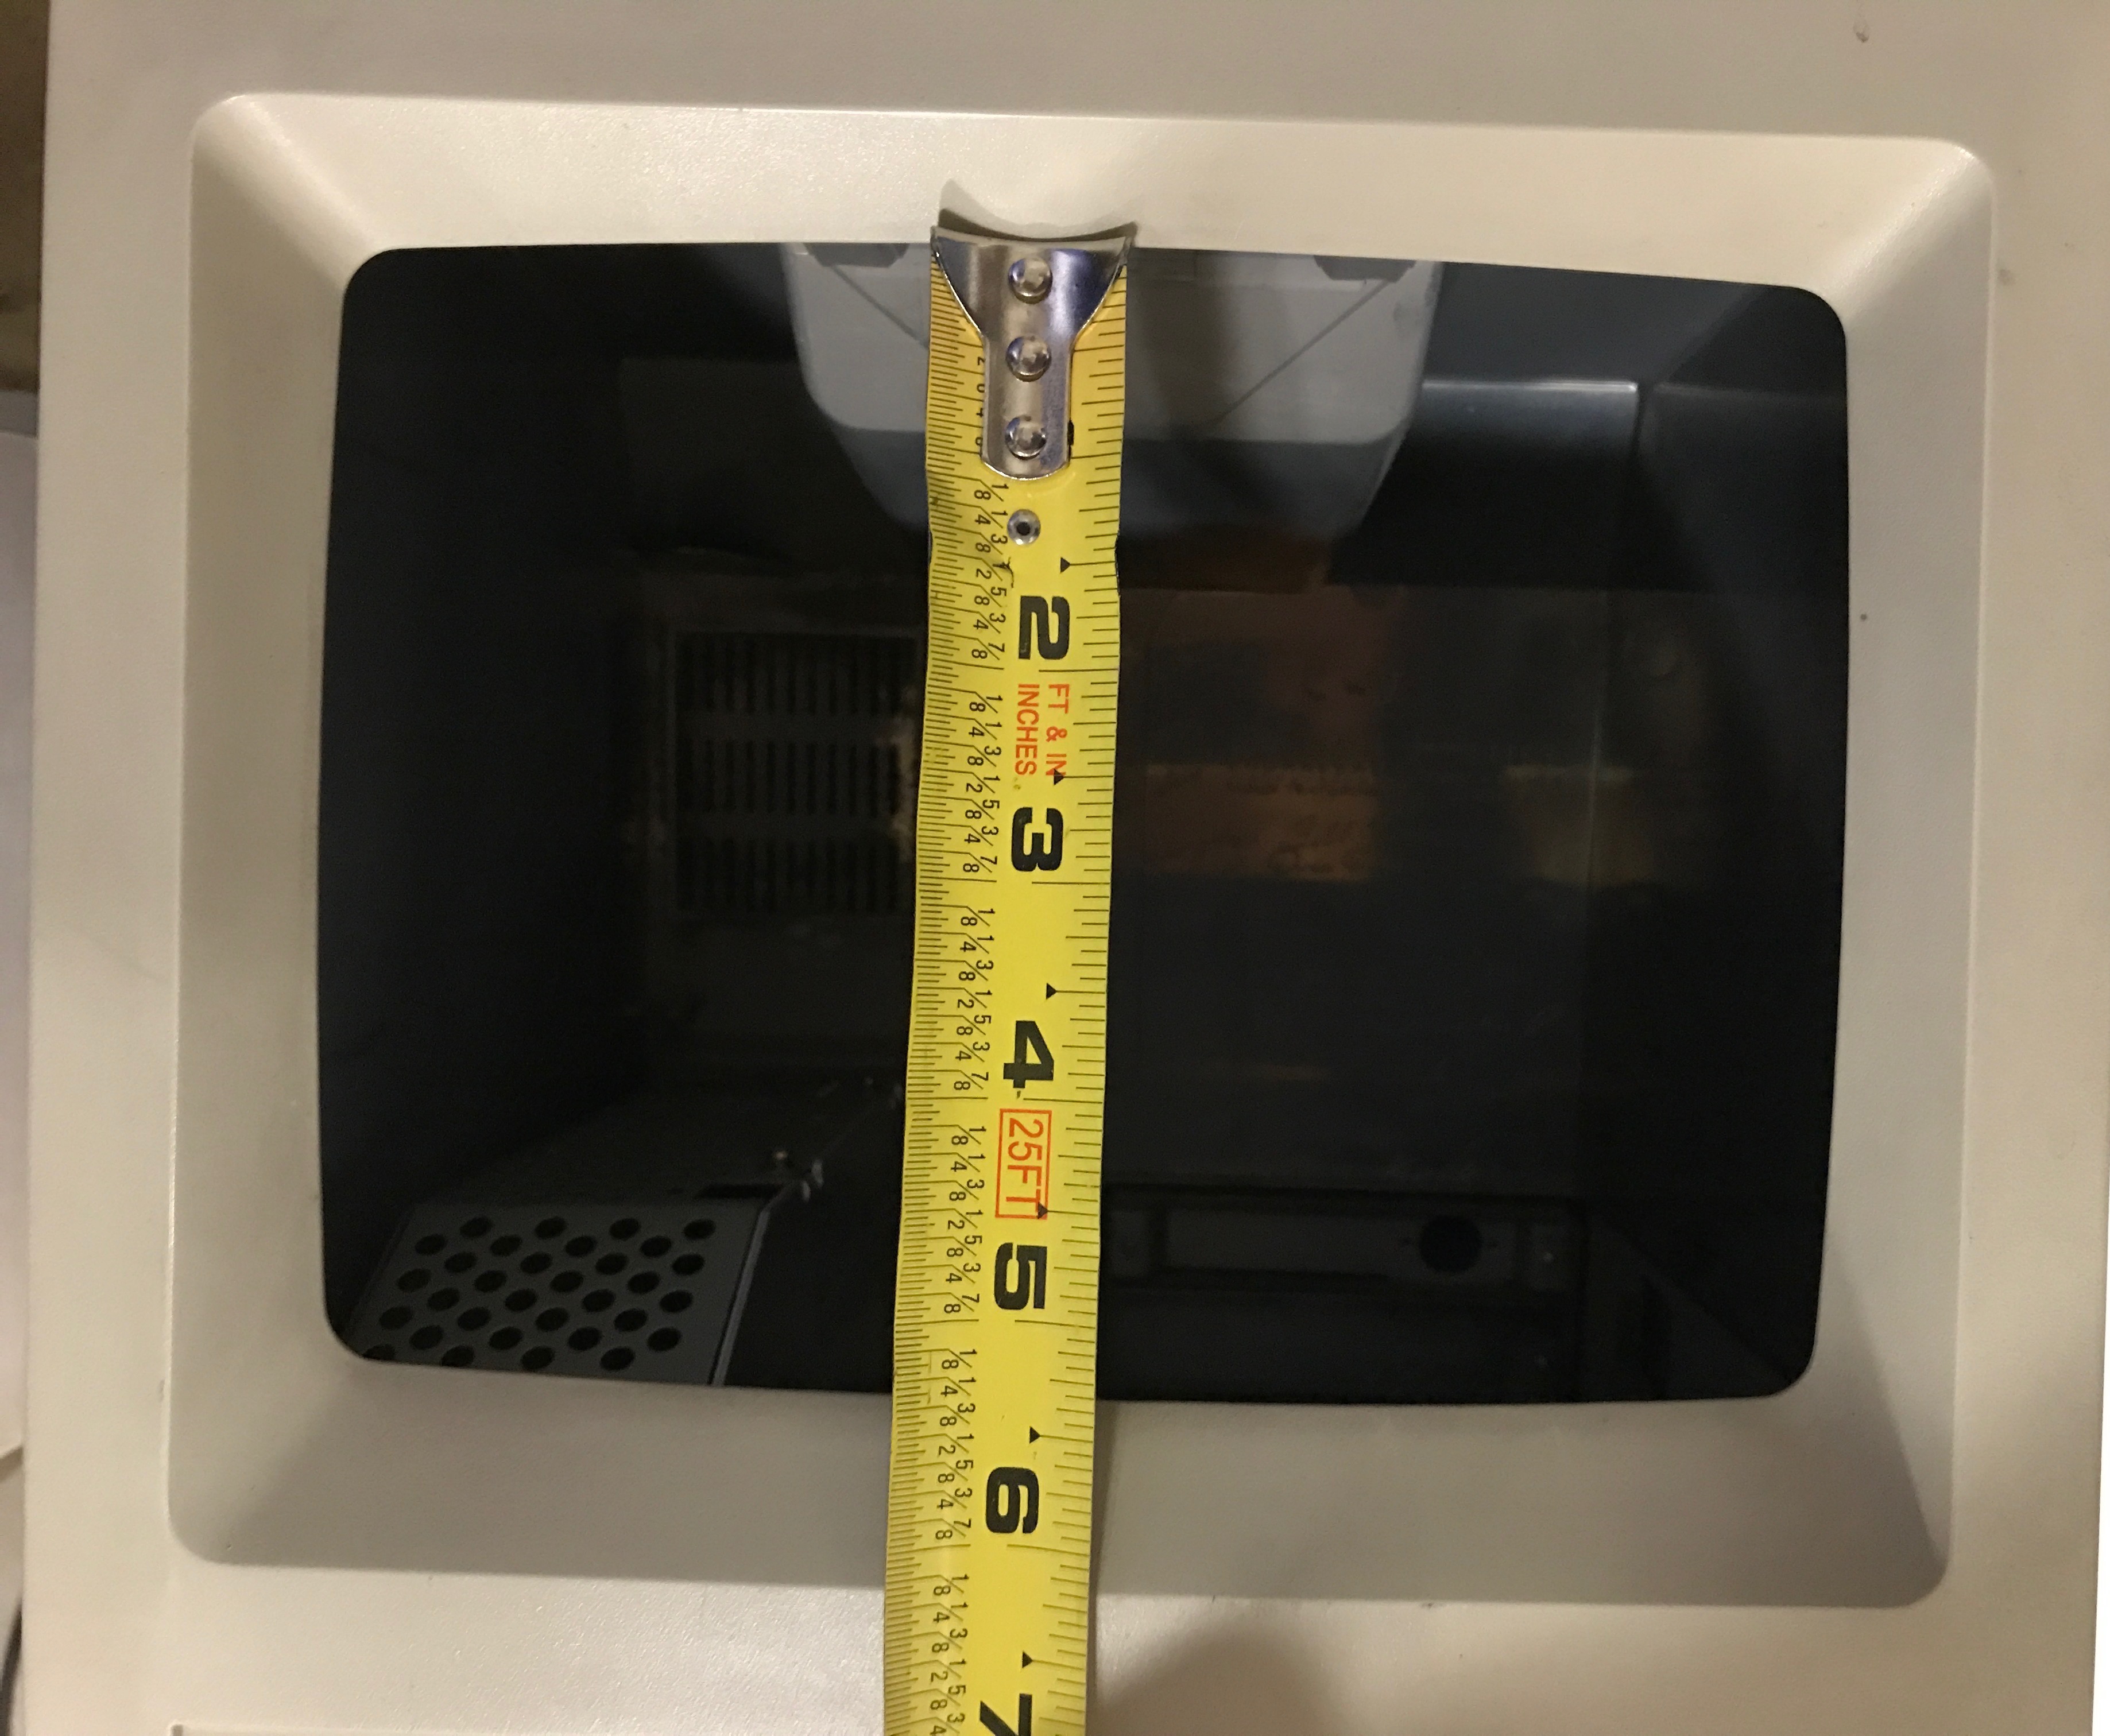
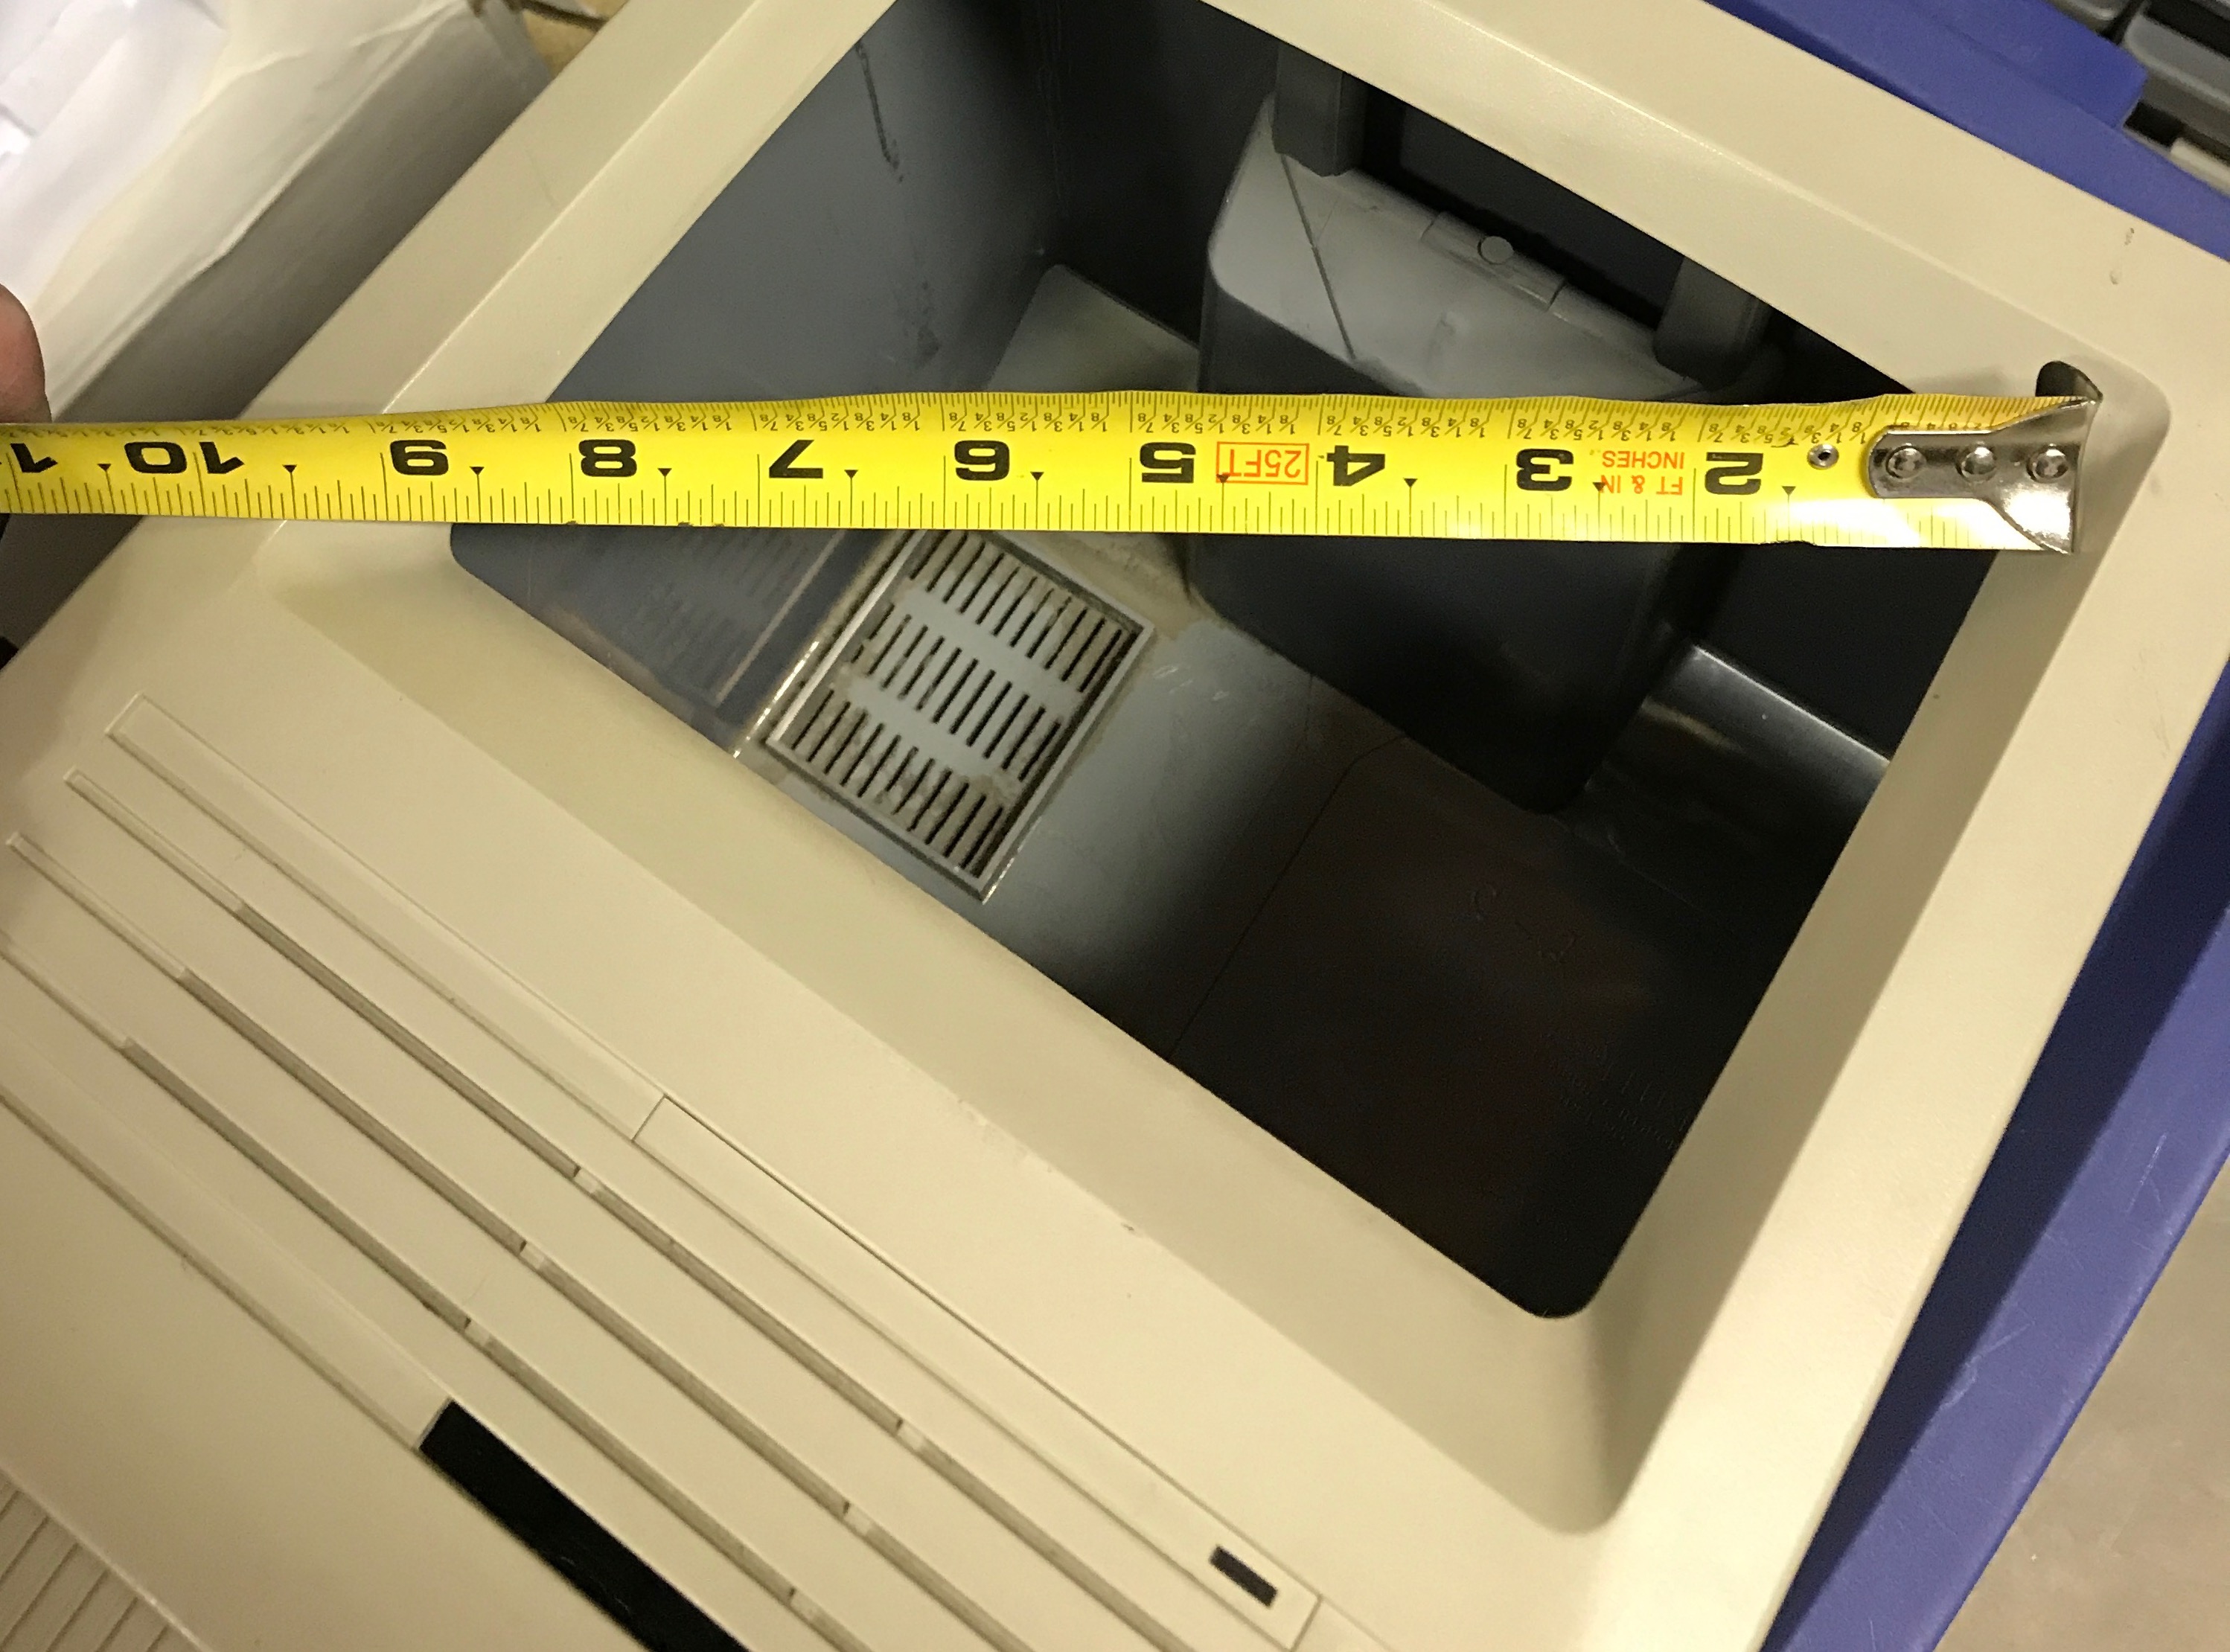
I ended up using an 8" LCD with a controller that accepted HDMI from eBay, listed as HDMI VGA 2AV LCD Controller Board 8" 800x600 EJ080NA-05B LCD screen. The display fit within the round area cut out for the original CRT with the bezel overlapping the edge slightly. It didn’t have any mounting hardware that matched a 1980s computer, so I improvised. I cut out a piece of plexiglass to overhang the display and reach the original CRT mounting holes. I drilled holes for the original Mac’s screws and cut a hole for the controller board in the back and used the plexiglass to sandwich the display into the case very firmly.
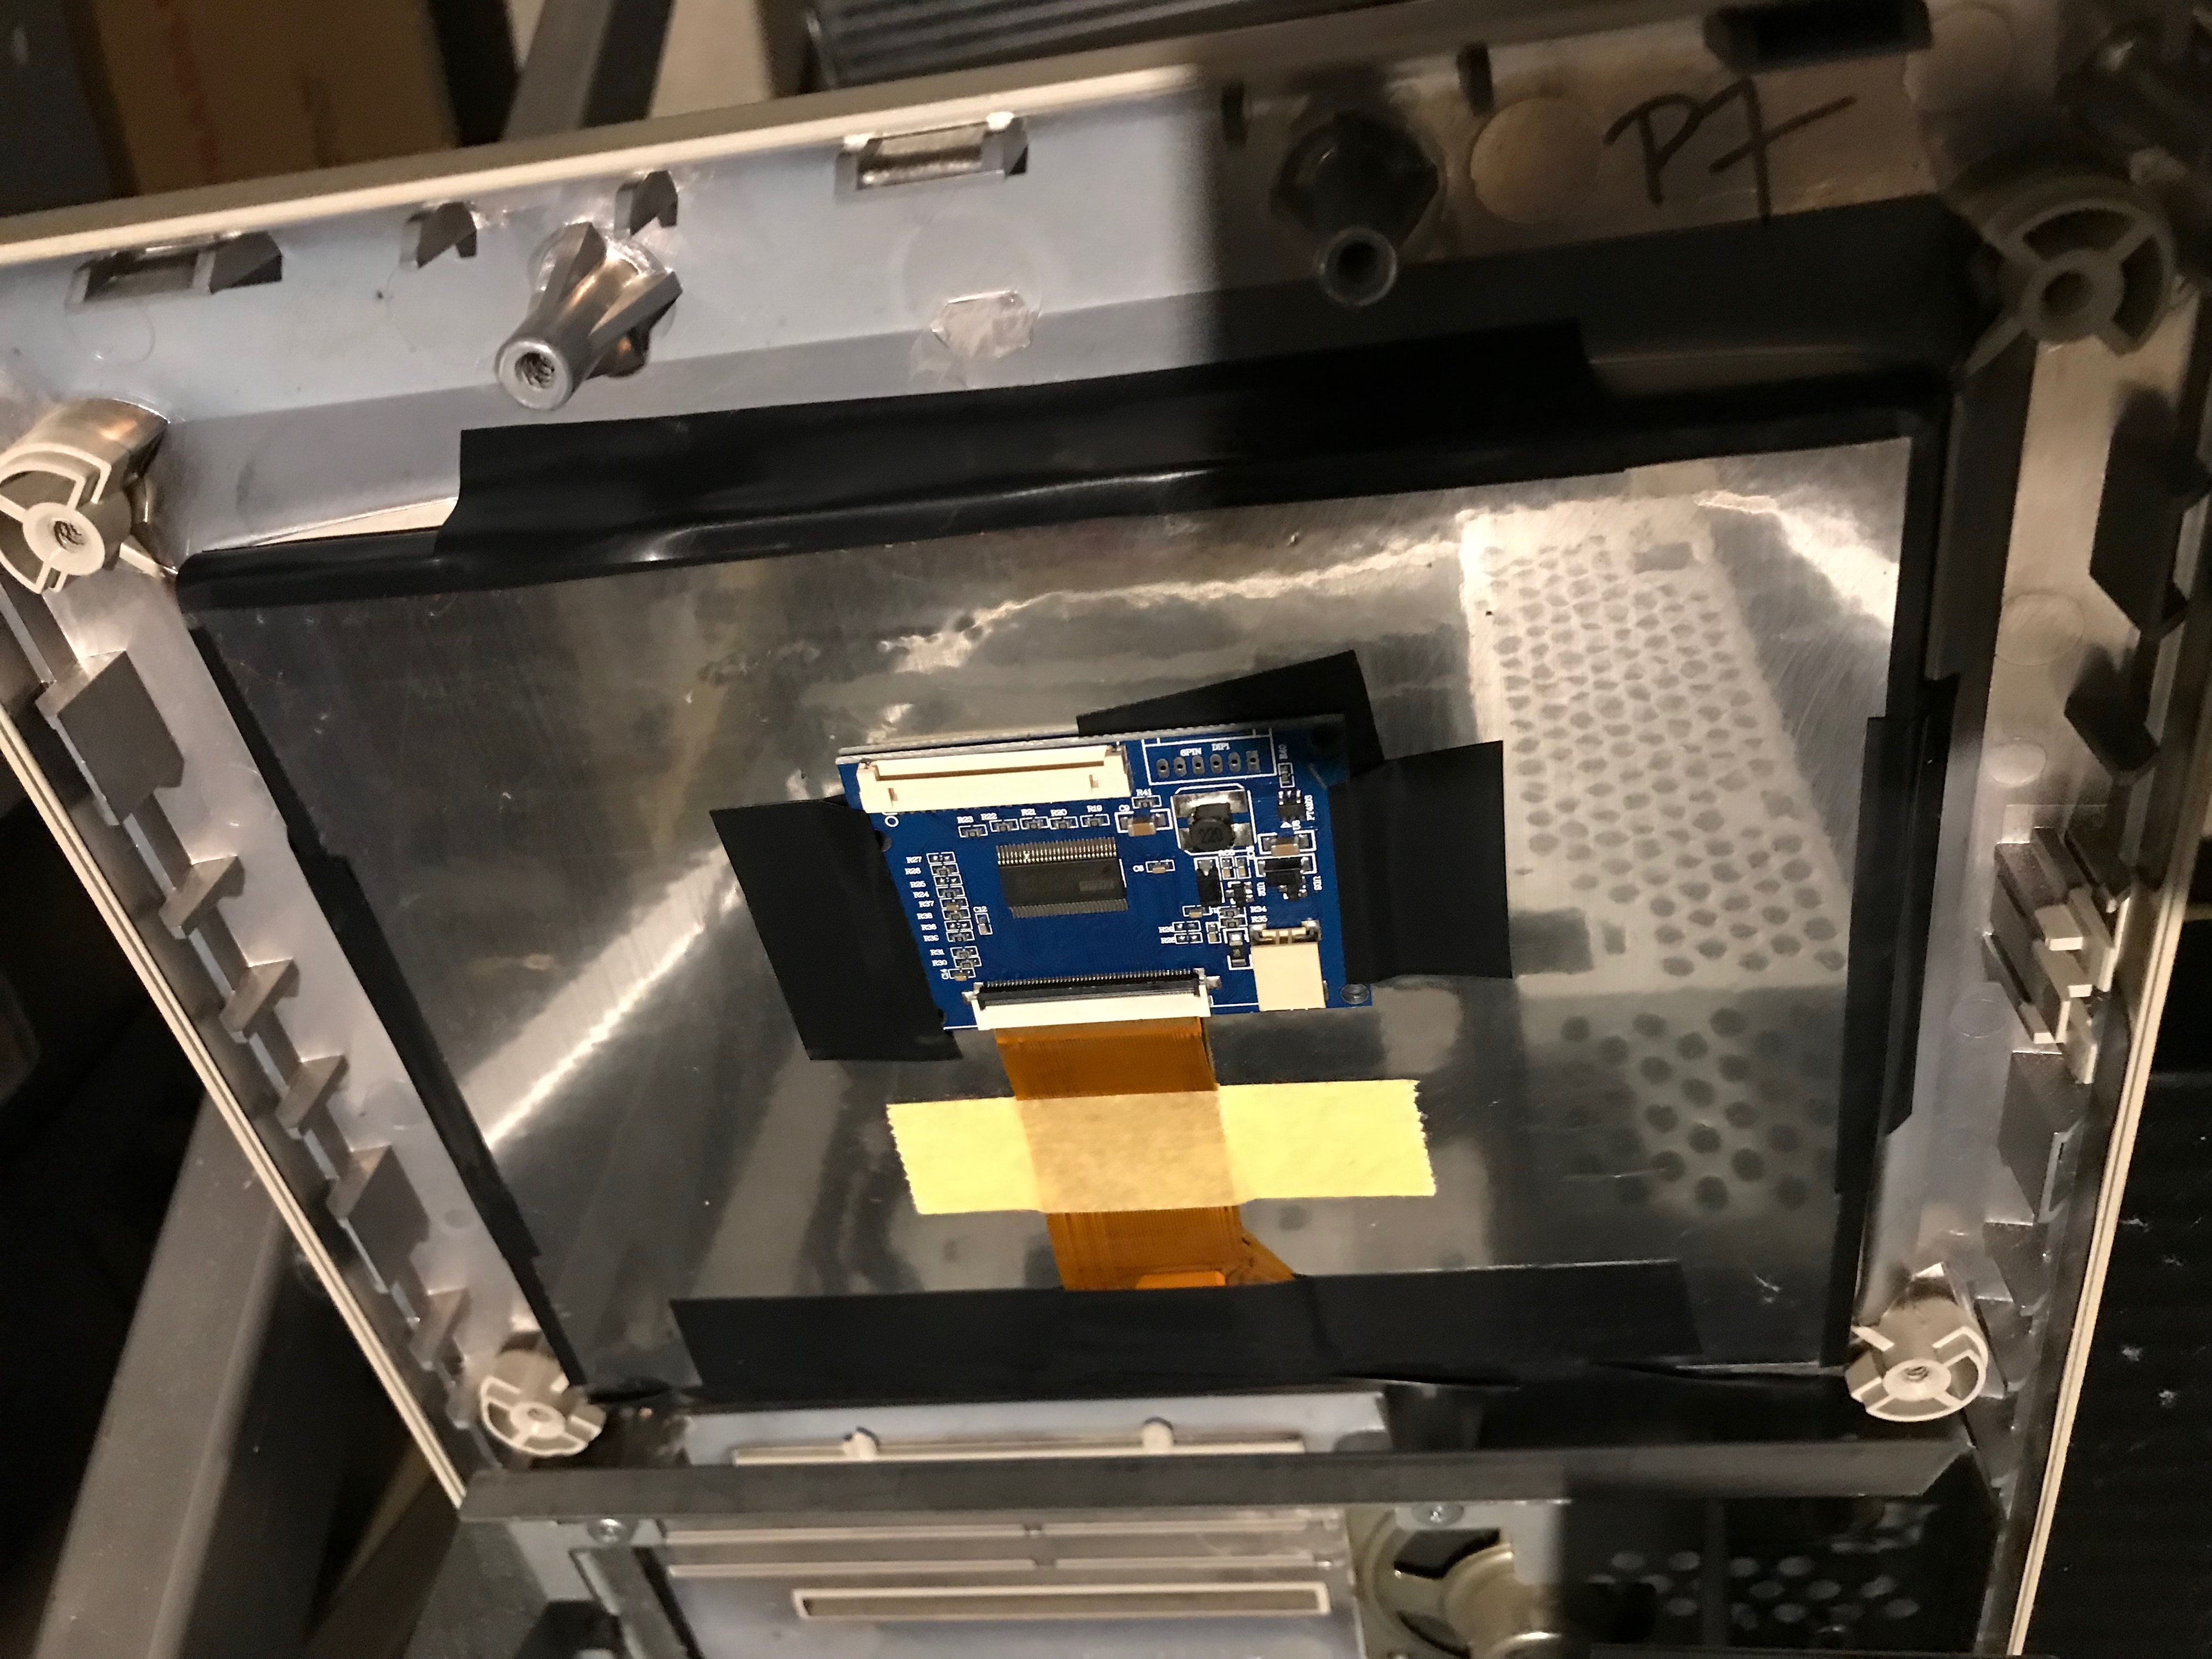
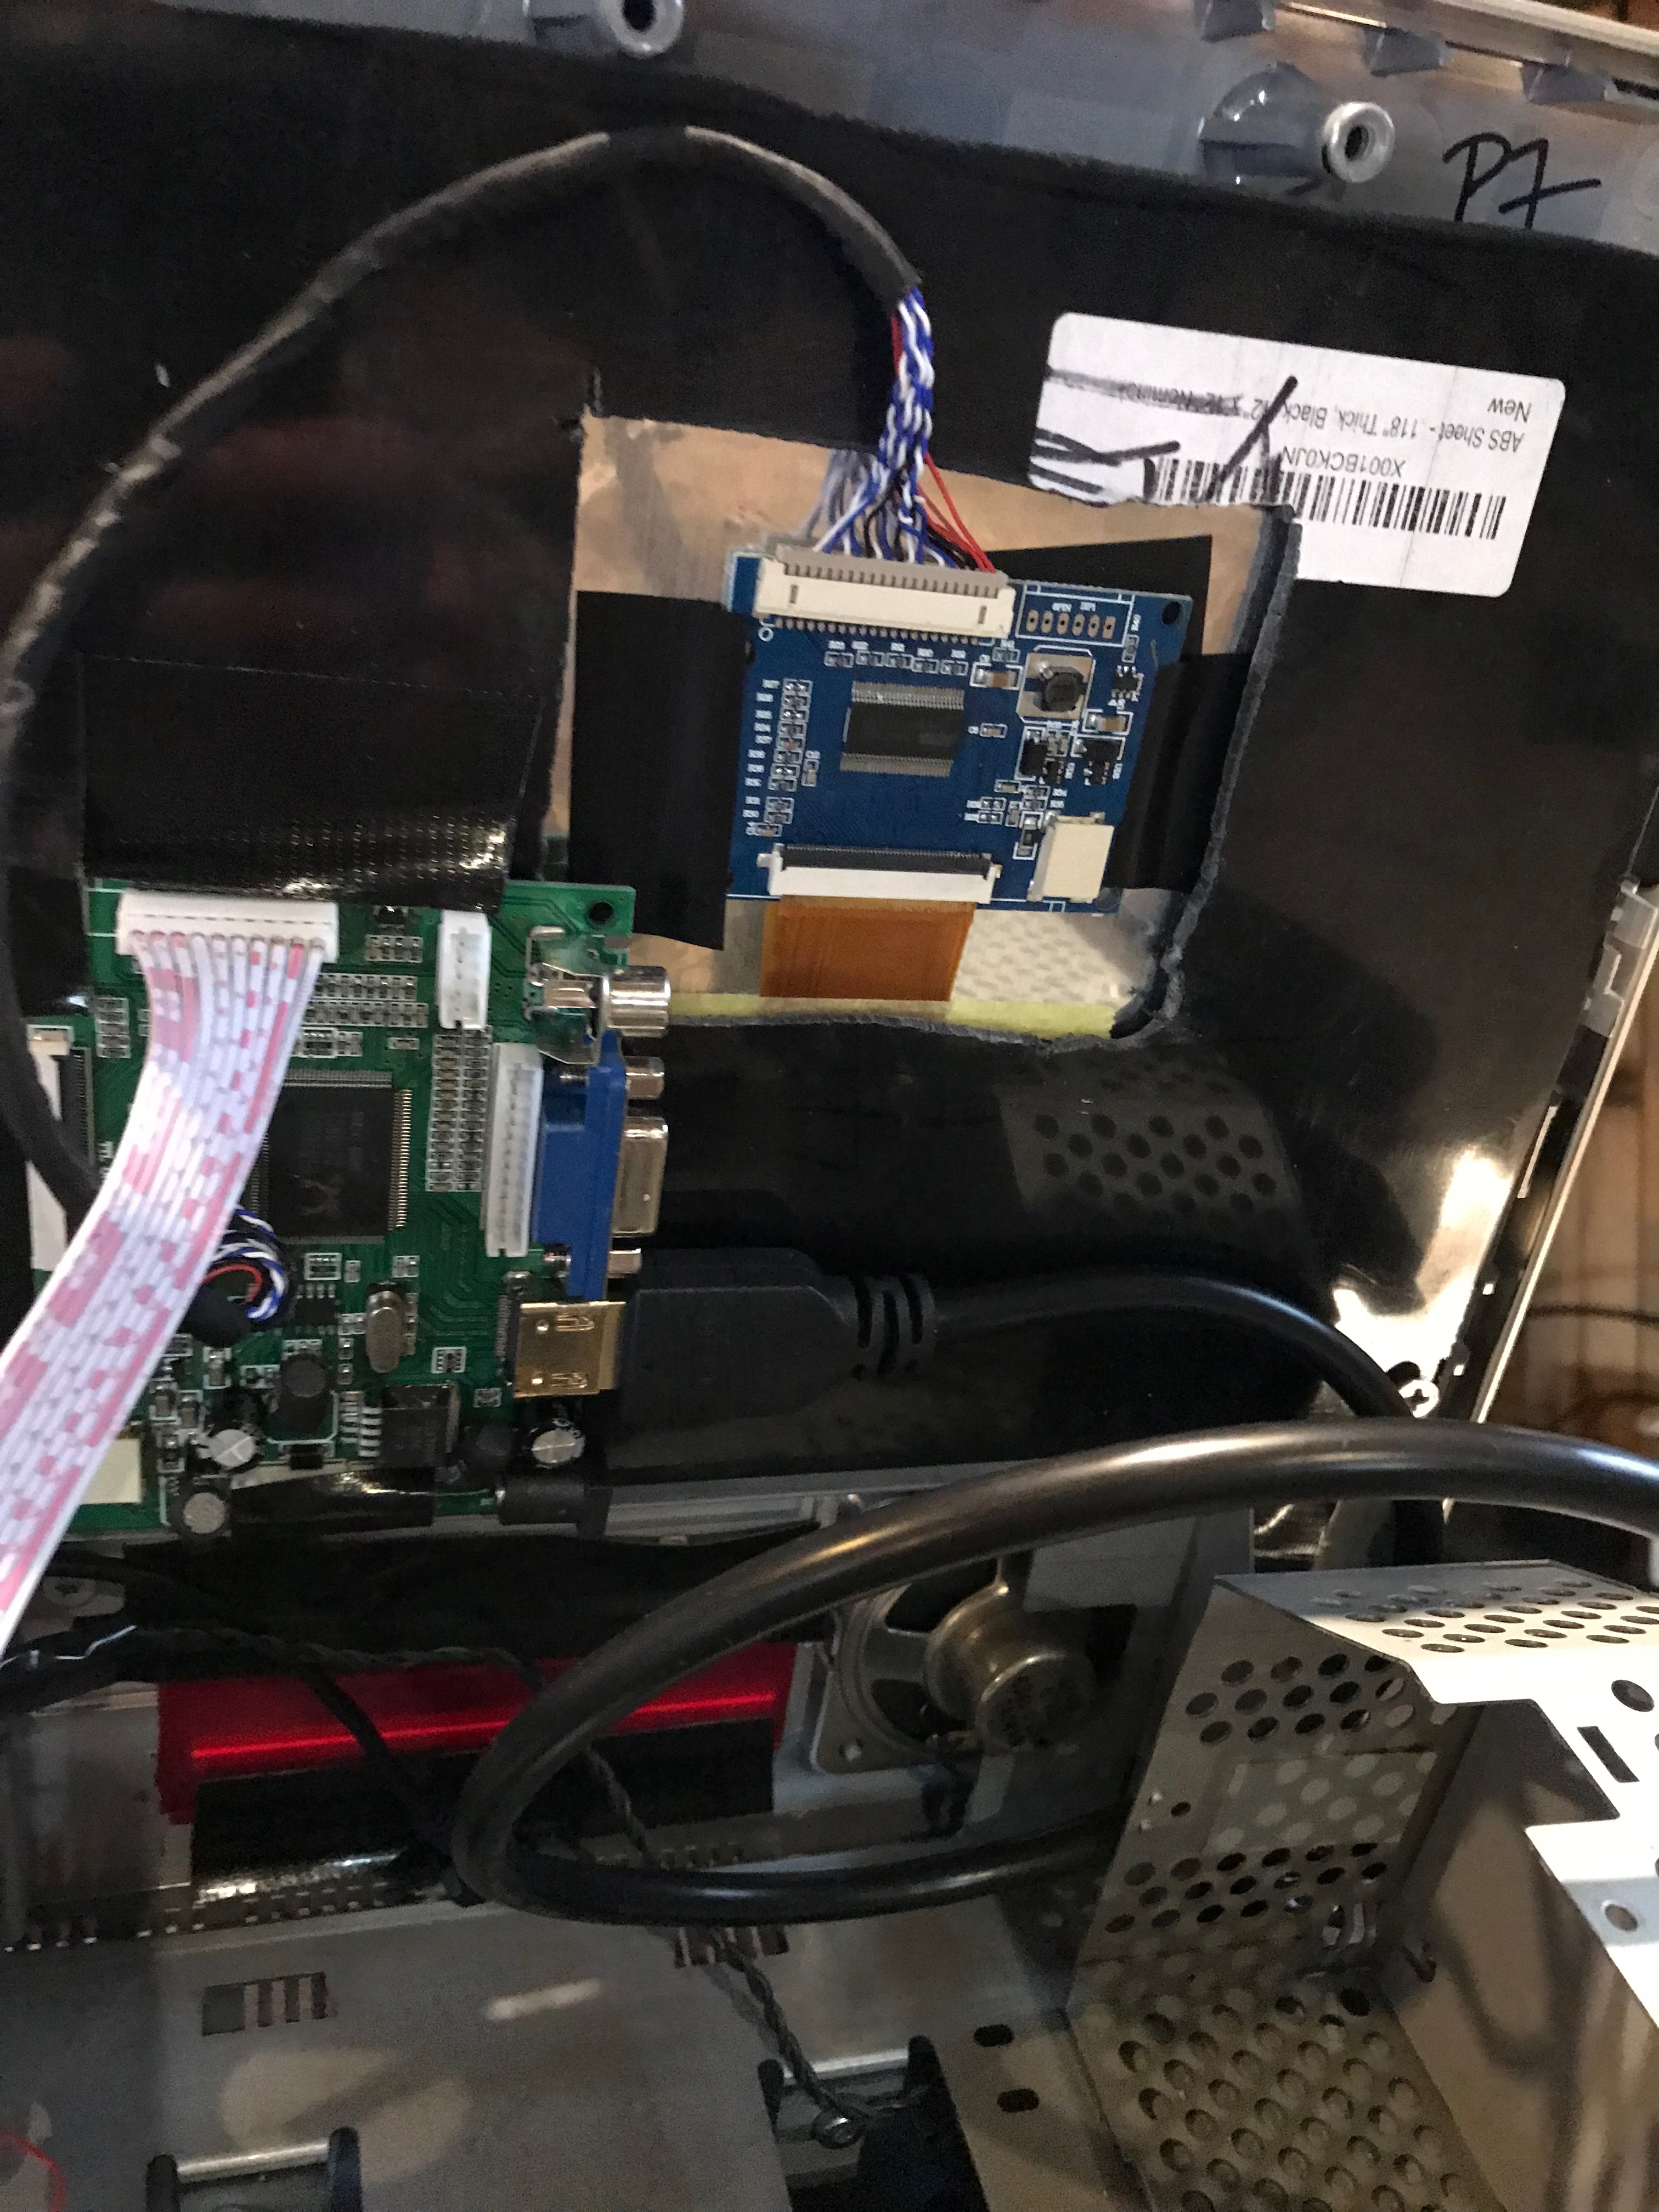
The CRT was all curvy and the LCD flat, so I used Sugru to form a gasket to take up the cap around the display and up to the original cutout. It was my first Sugru experience, so it wasn’t perfect, but I was happy with it.
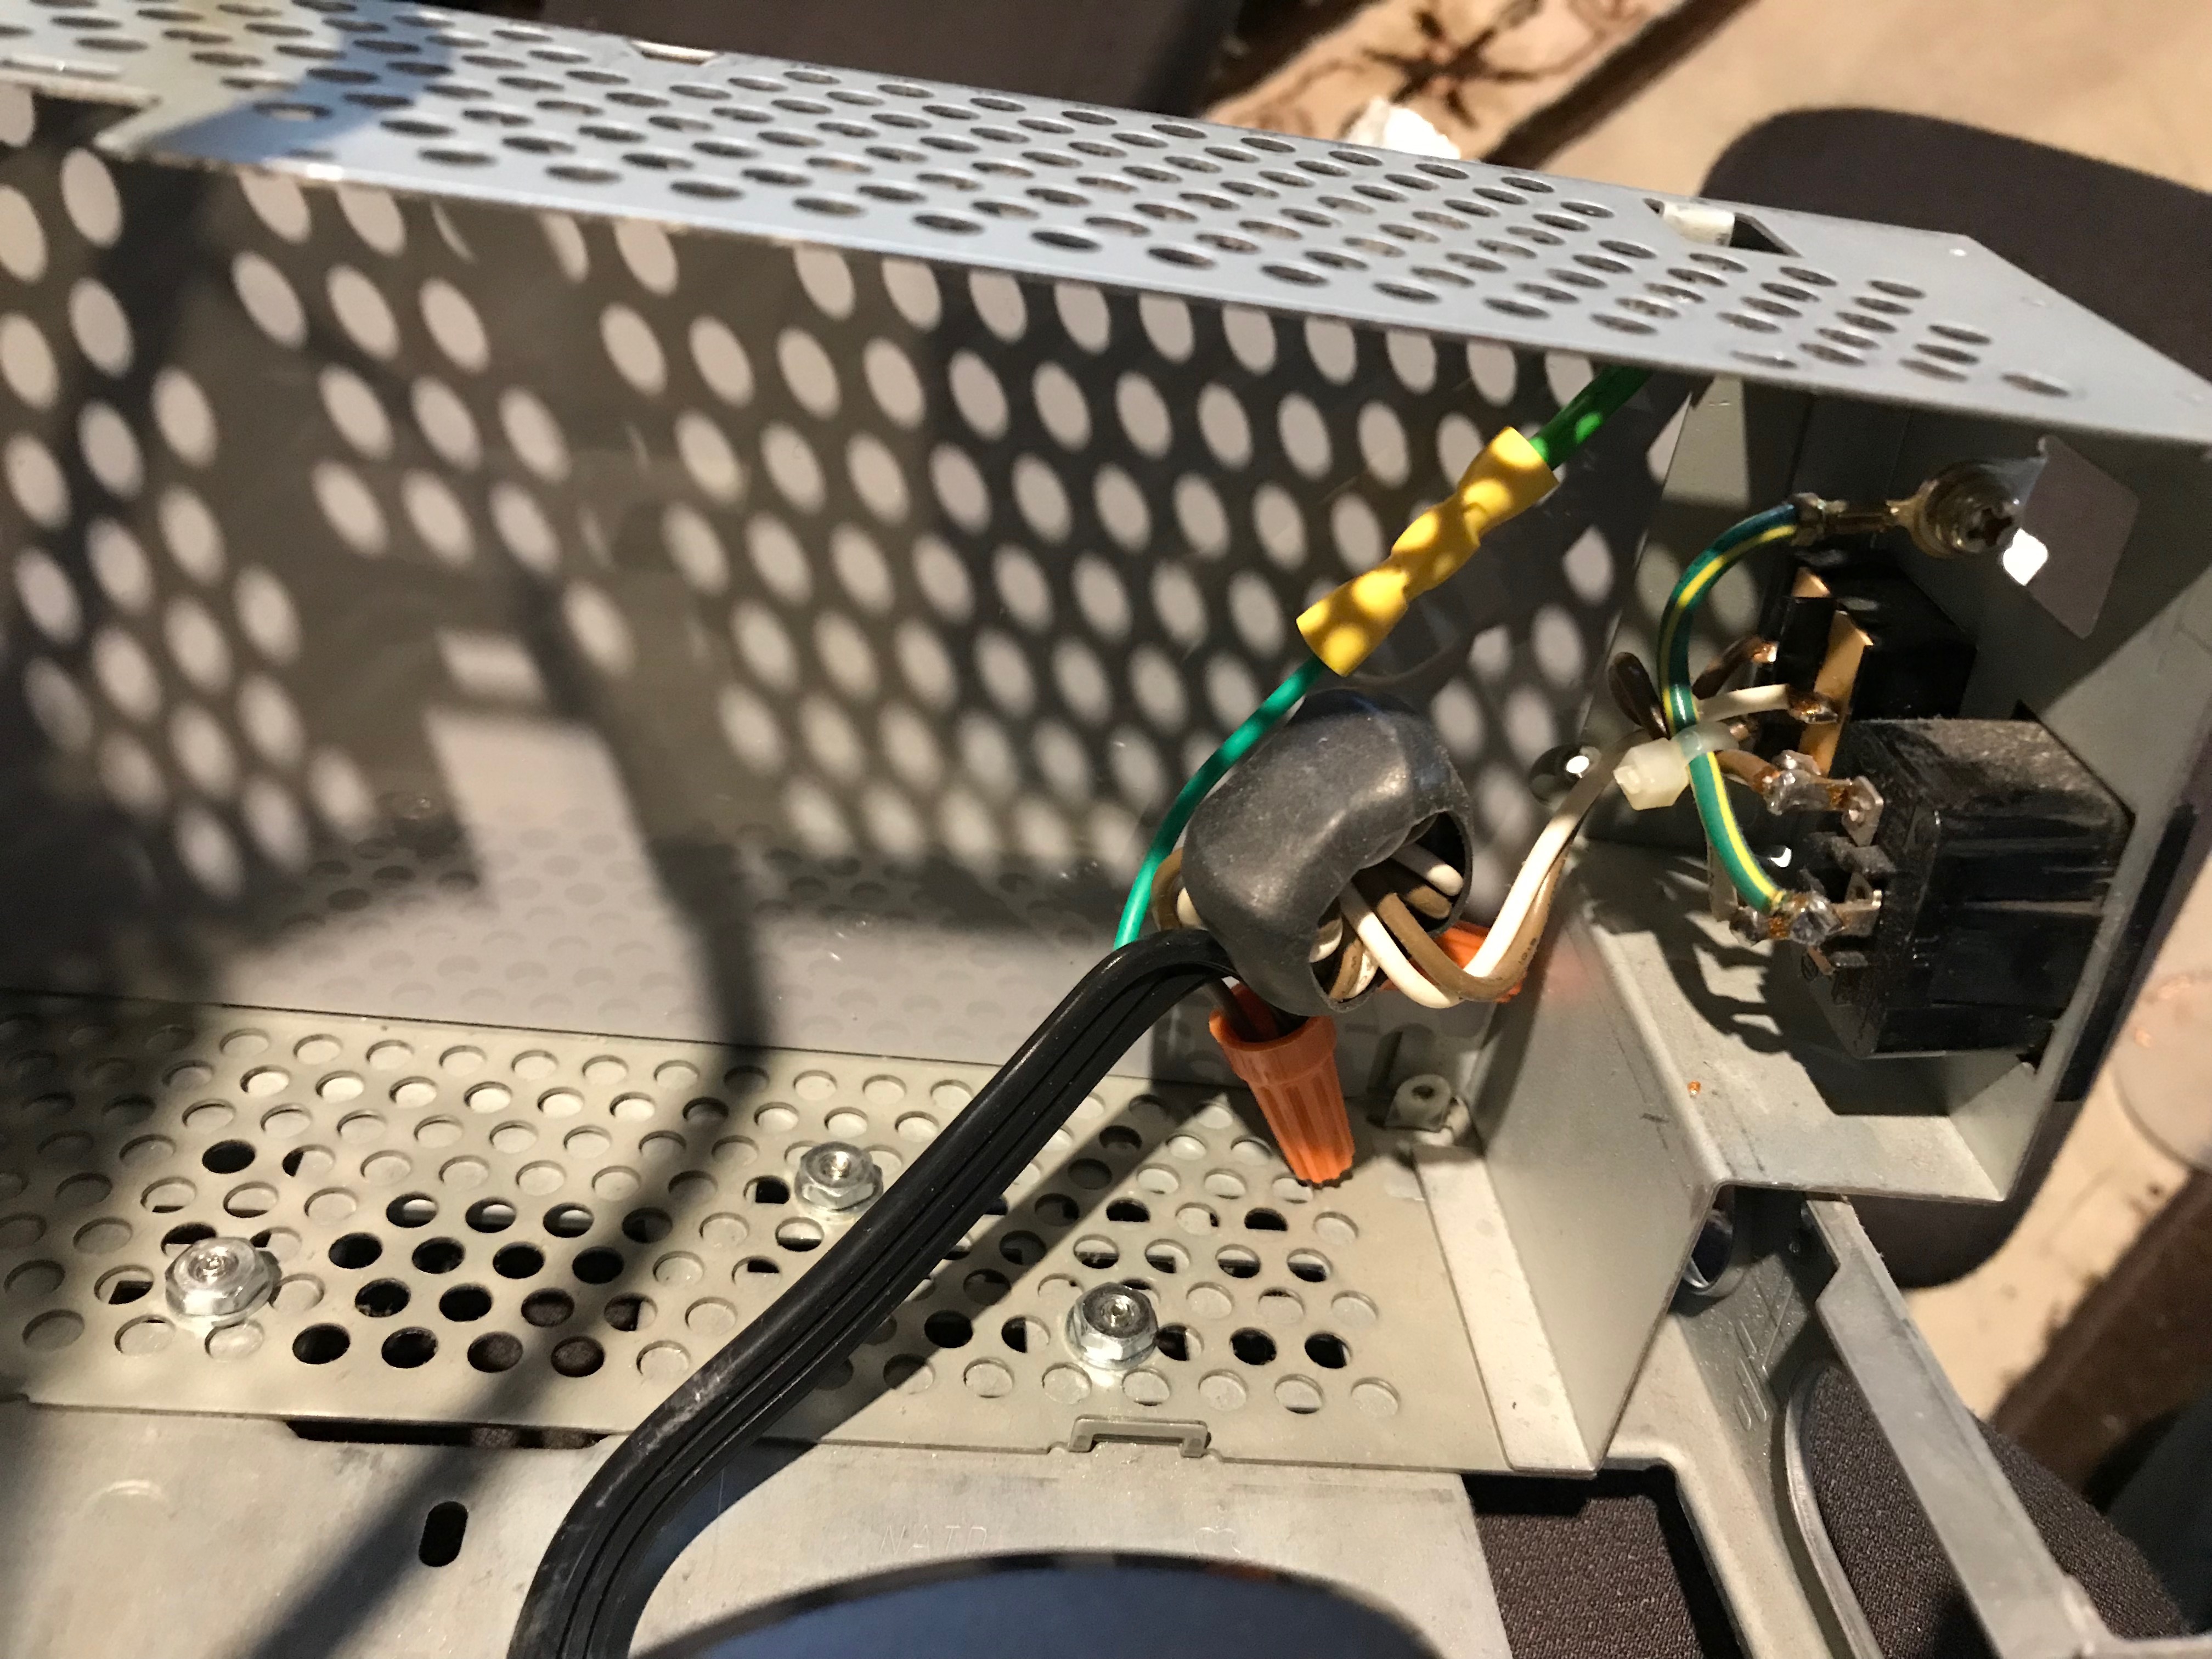
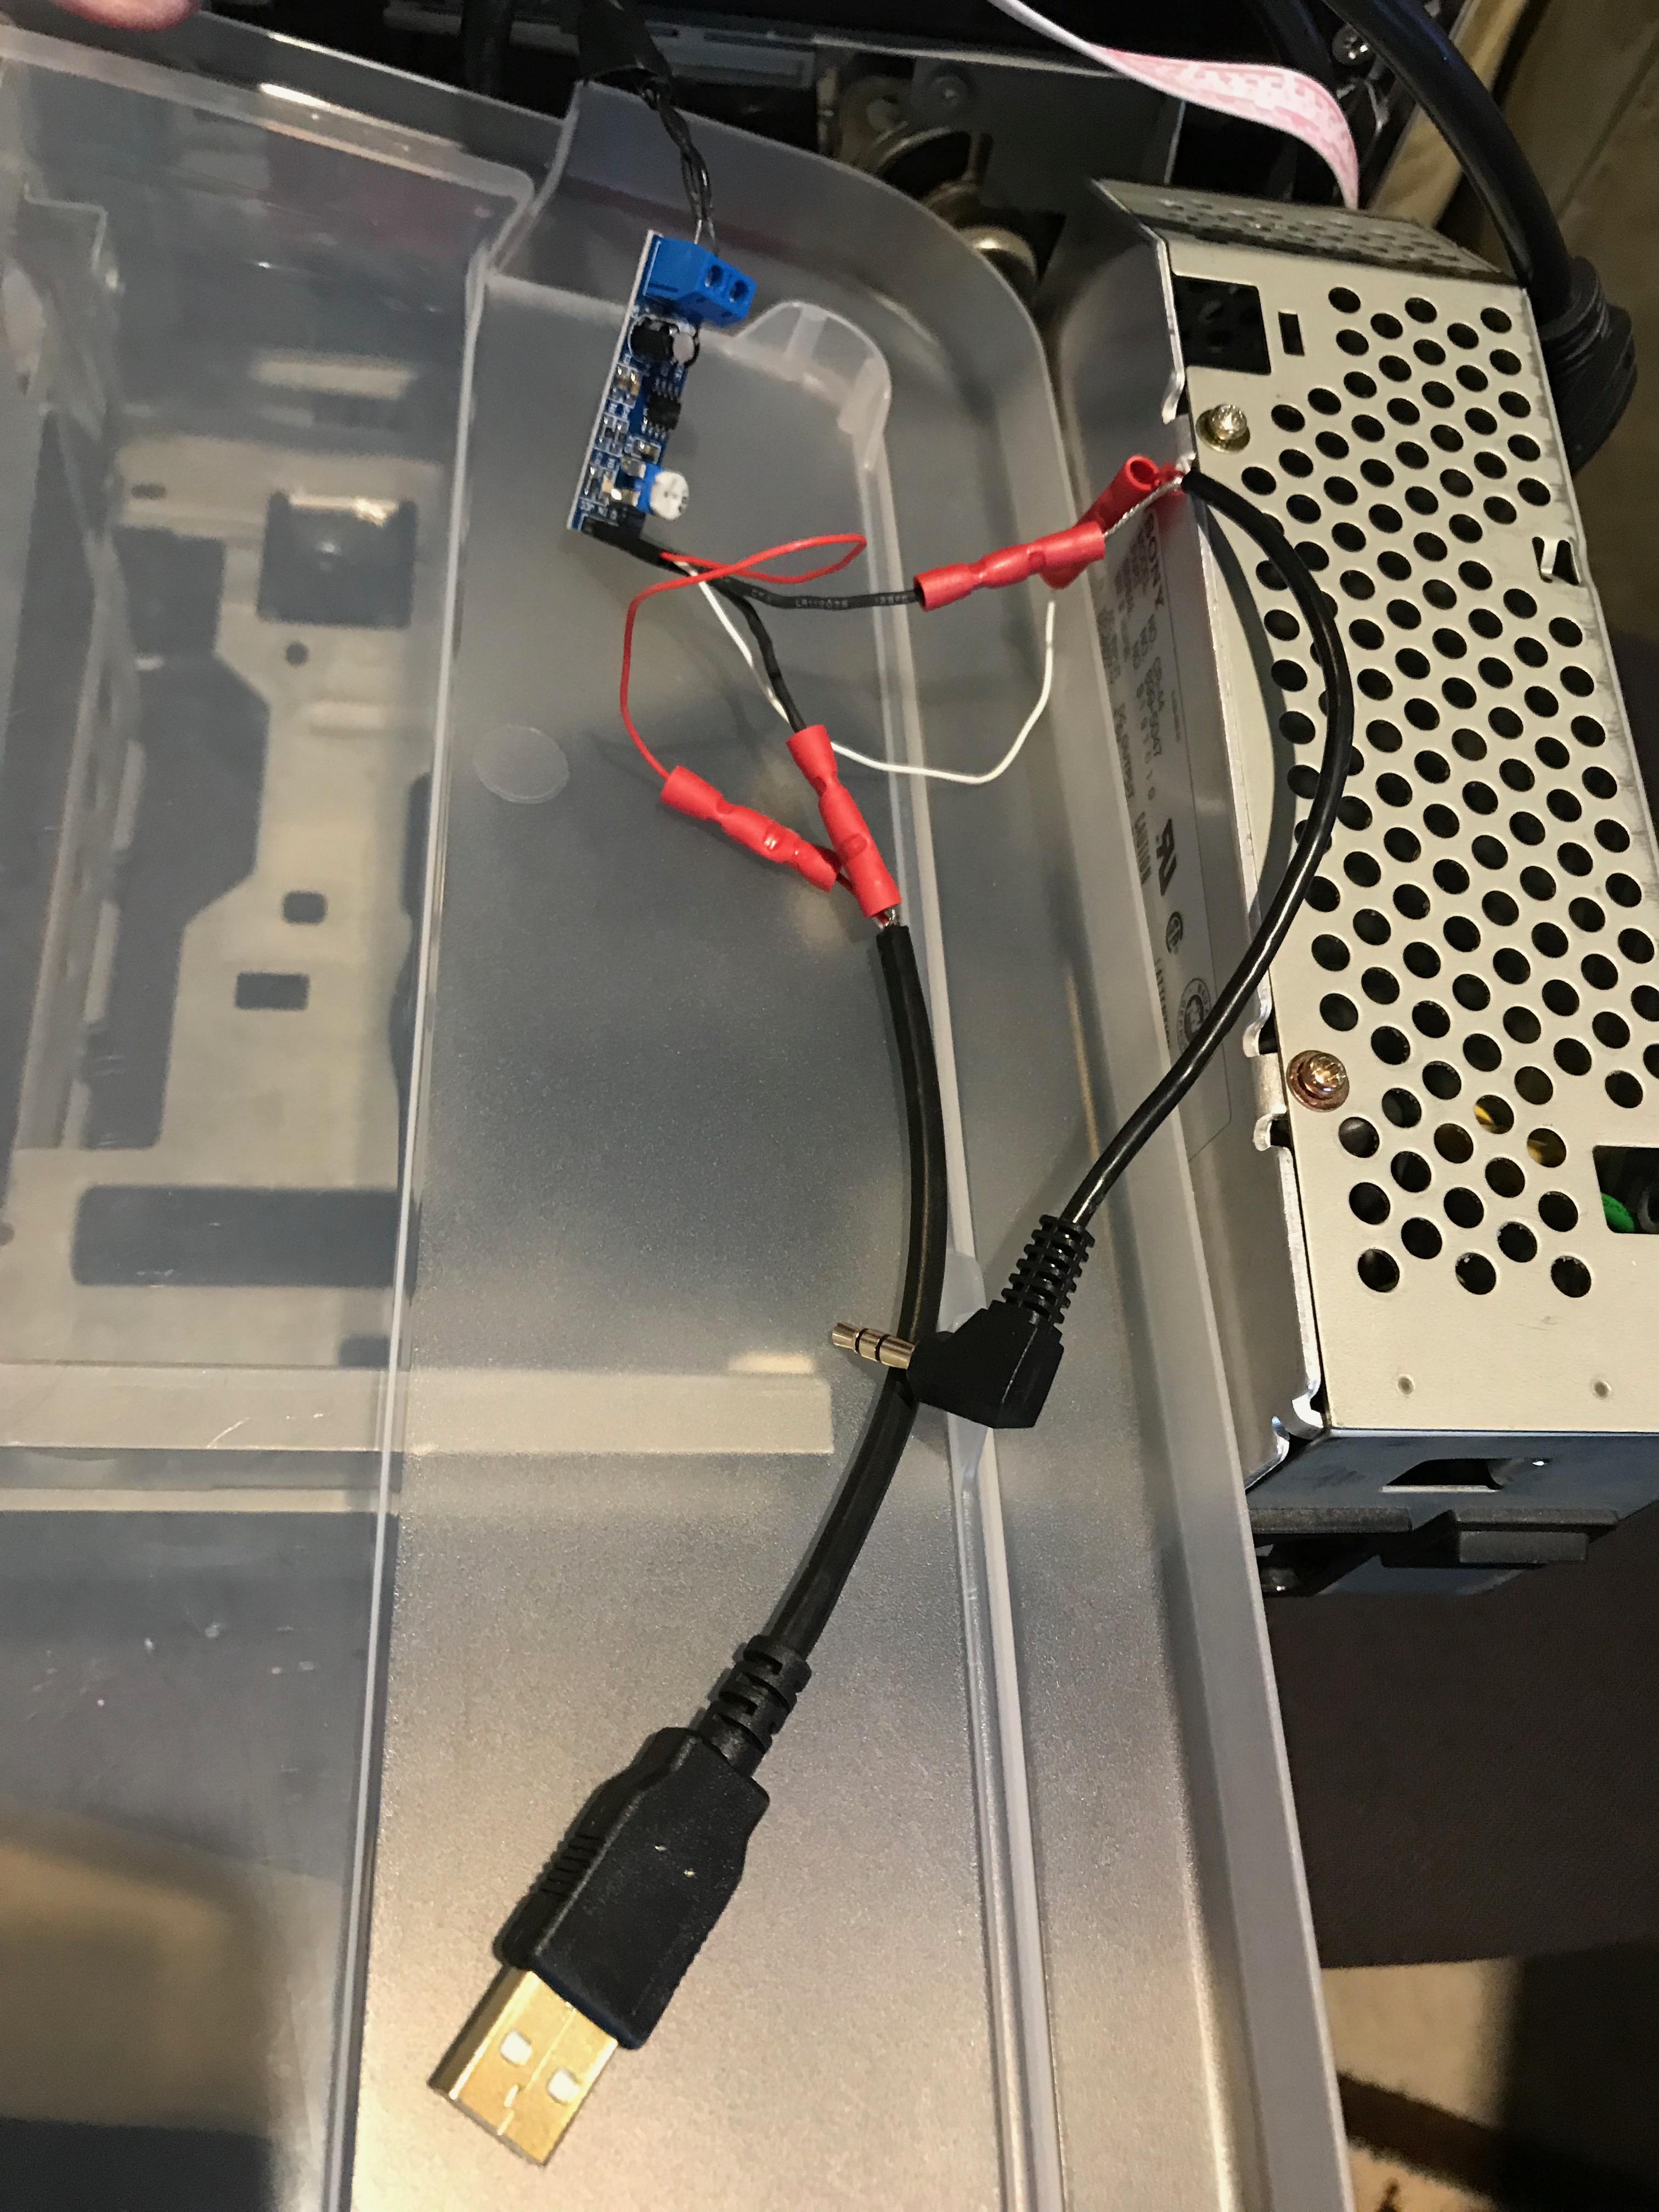
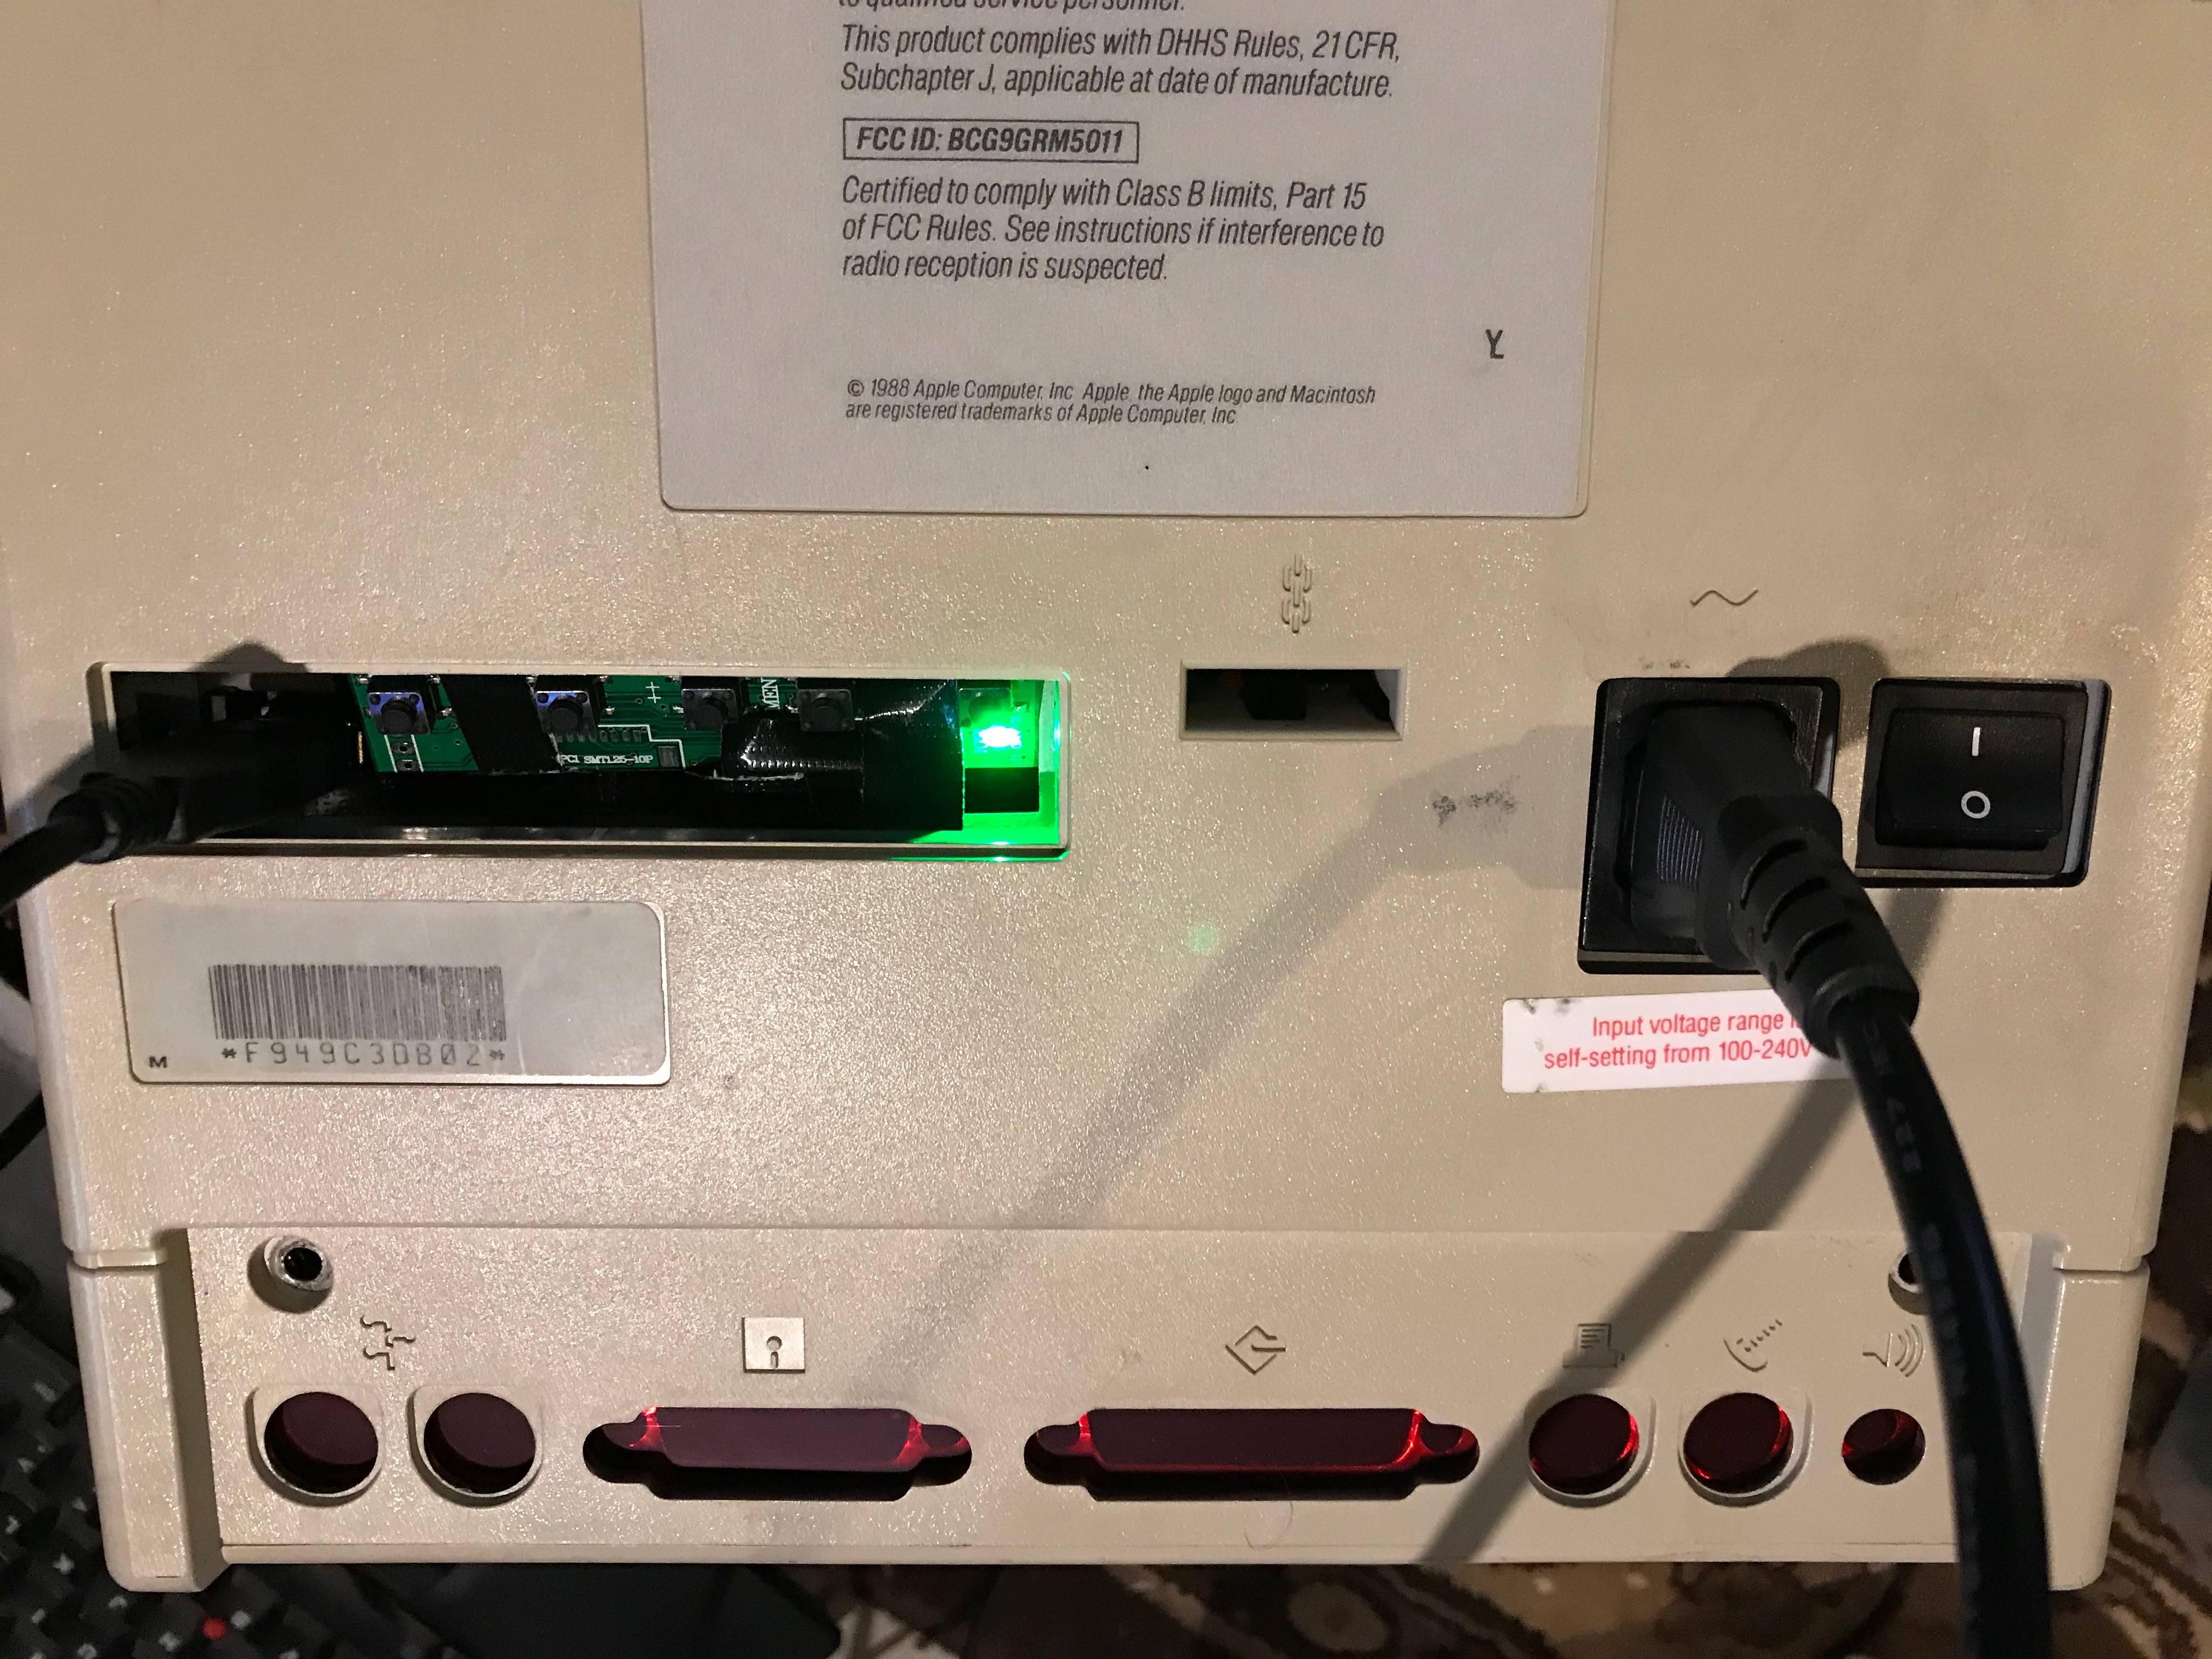
Since I wanted this to be authentic, I had two weird requirements. One was to use the original power connector and power switch on the rear of the case and second was that I wanted to use the original speaker for audio.
The first was accomplished by gutting the original power supply and connecting the leads to a power strip (with USB power for the Raspberry Pi) directly to the original, internal power wiring. This wiring was after the switch, so the switch on the back works as expected.
The second goal required a small +5v amp. I connected the original leads from the speaker to the amp, used USB for +5v to power it and added a mini jack to connect to the Raspberry Pi.
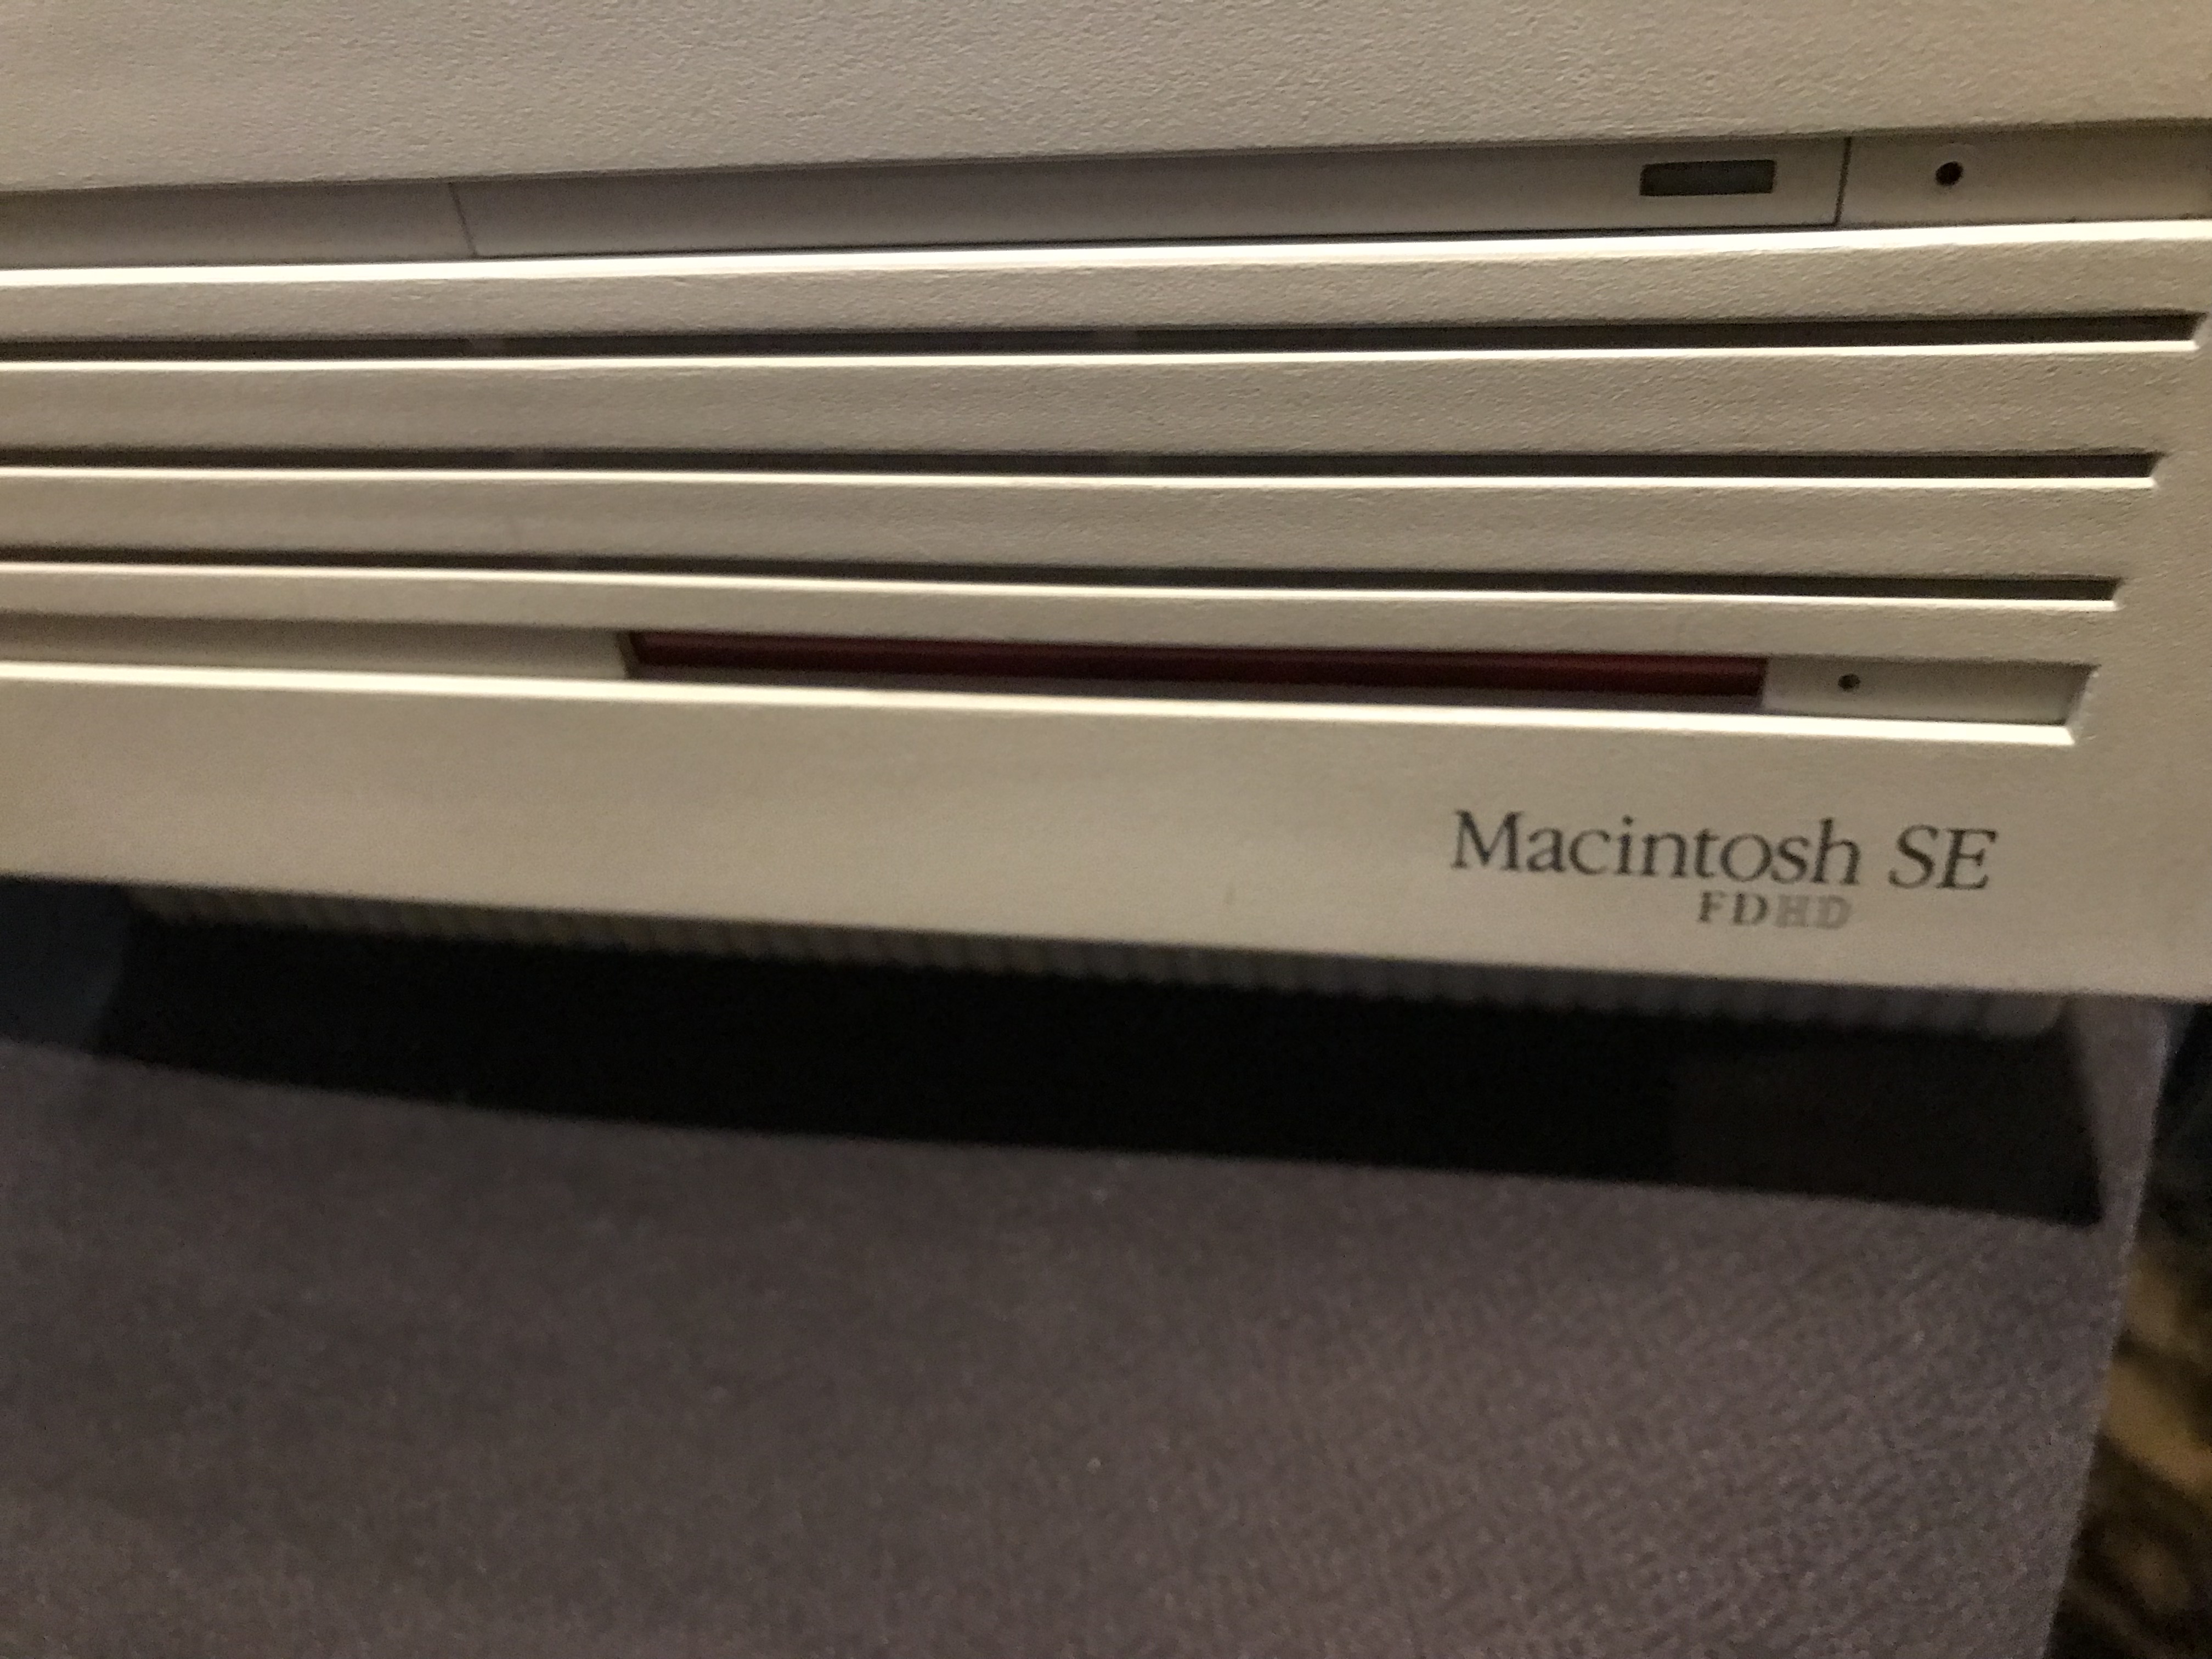
Next, I turned the floppy drive into a light show. I wanted it to look like the scanner from KITT on Knight Rider, so I taped a red gel over the back of the slot for the floppy drive and then mounted a Scroll pHAT HD behind the gel.
That’s most of the highlights, I pretty much crammed everything into the case and screwed it together.
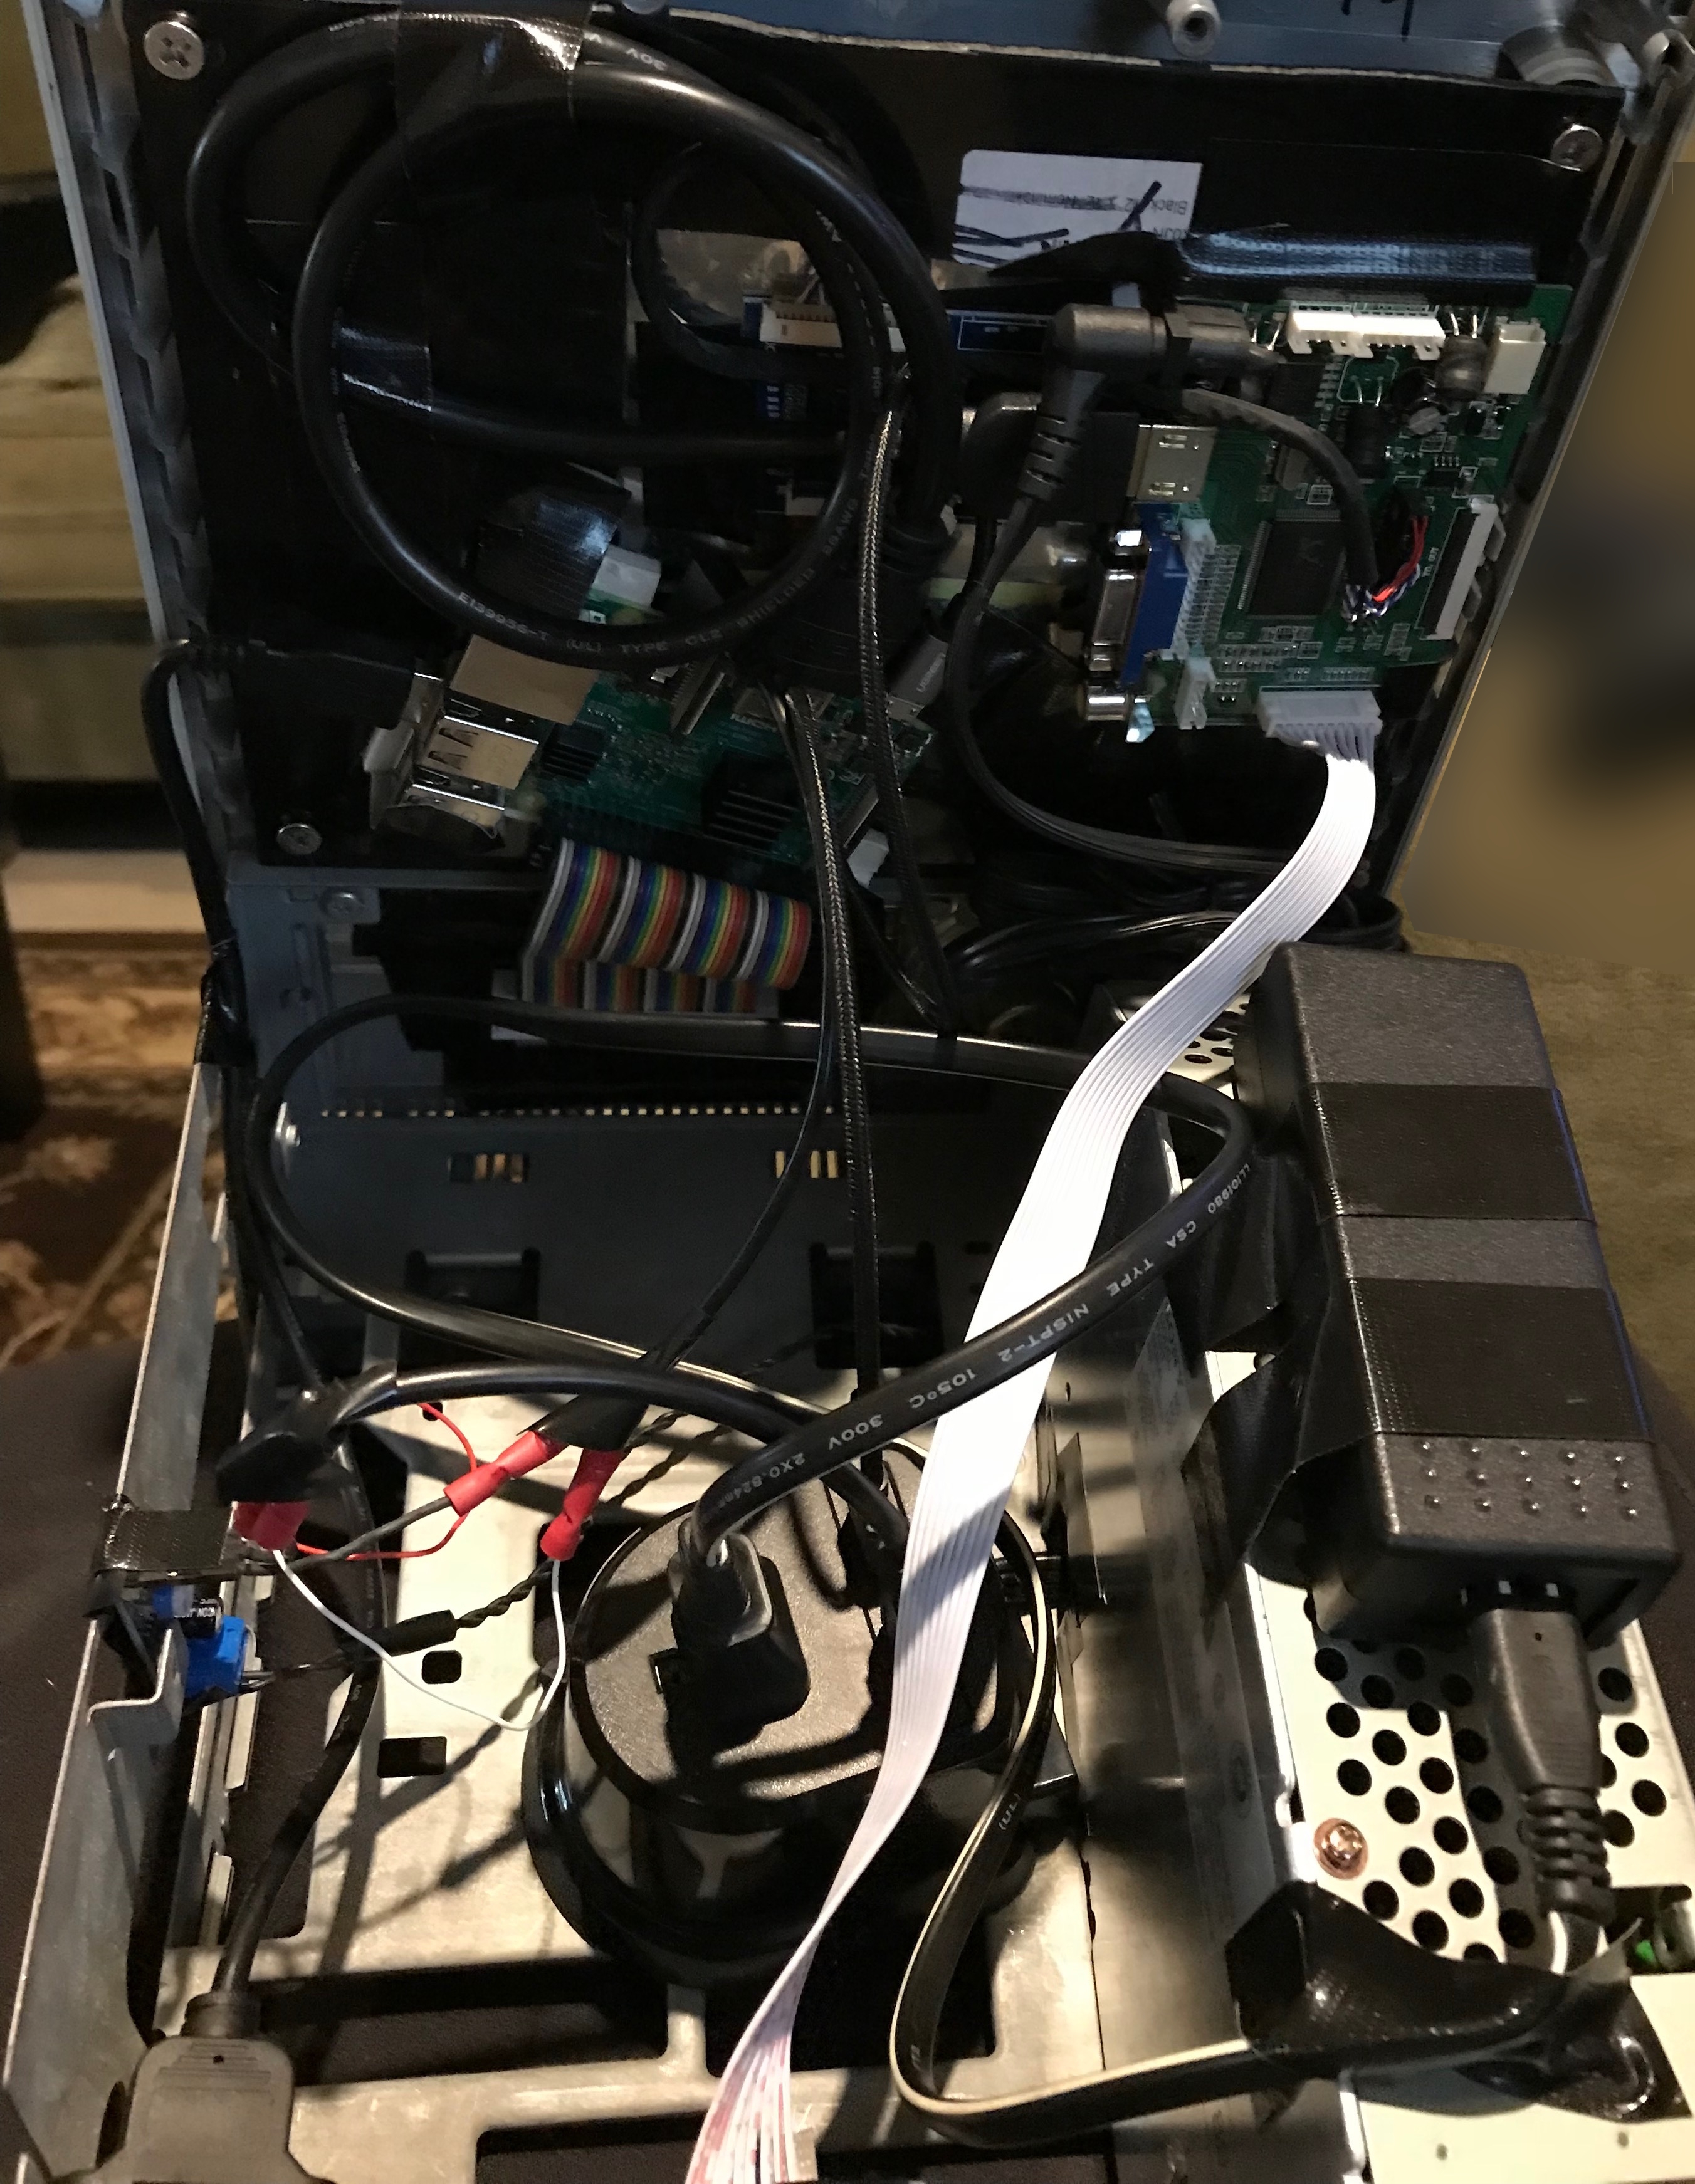
For finishing touches, I routed a panel-mount USB connector and the LCD button panel into the case’s rear expansion slot. This allows accessing a USB port from the Raspberry Pi (for a keyboard and mouse) and to turn the display on or off.
Part List:
- Raspberry Pi 3 Model B (build in wireless networking)
- Donor Macintosh SE
- 8" LCD panel with controller board and power supply
- 12" square plexiglass or larger, 1/8" or thicker
- Matte black Sugru
- Power strip with at least 1 USB charging port
- Panel-mount USB connector
Optionally:
- Red gel
- Scroll pHAT HD
- Small Amp (LM386 Mono Audio Amplifier)
- Misc. Connectors for amp – mini cable, usb cable